

Automatic updates are essential for keeping your device secure and running smoothly, but sometimes these updates can interrupt your workflow or cause unexpected restarts. Whether you’re using Windows, macOS, or iPadOS, learning how to temporarily disable automatic updates can give you greater control over when and how your device installs updates. This guide walks you through practical methods to pause or disable automatic updates temporarily without compromising your system’s health.


Why Temporarily Disable Automatic Updates?
Automatic updates often run at inconvenient times — such as overnight or during important meetings — causing unexpected restarts or performance slowdowns. Temporarily disabling updates allows you to:
- Avoid disruptions or work loss.
- Prevent your device from waking to install updates.
- Control when updates are downloaded and installed.
- Reduce bandwidth consumption during critical times.
Keep in mind that disabling updates for too long may expose your system to security vulnerabilities, so use these methods to pause, not permanently block, updates.
How to Temporarily Disable Automatic Updates on Windows 10 and Windows 11
Important: Windows does not offer an official way to permanently stop updates; Microsoft requires you to eventually install updates for security and stability. However, you can pause or temporarily disable updates using these approaches:
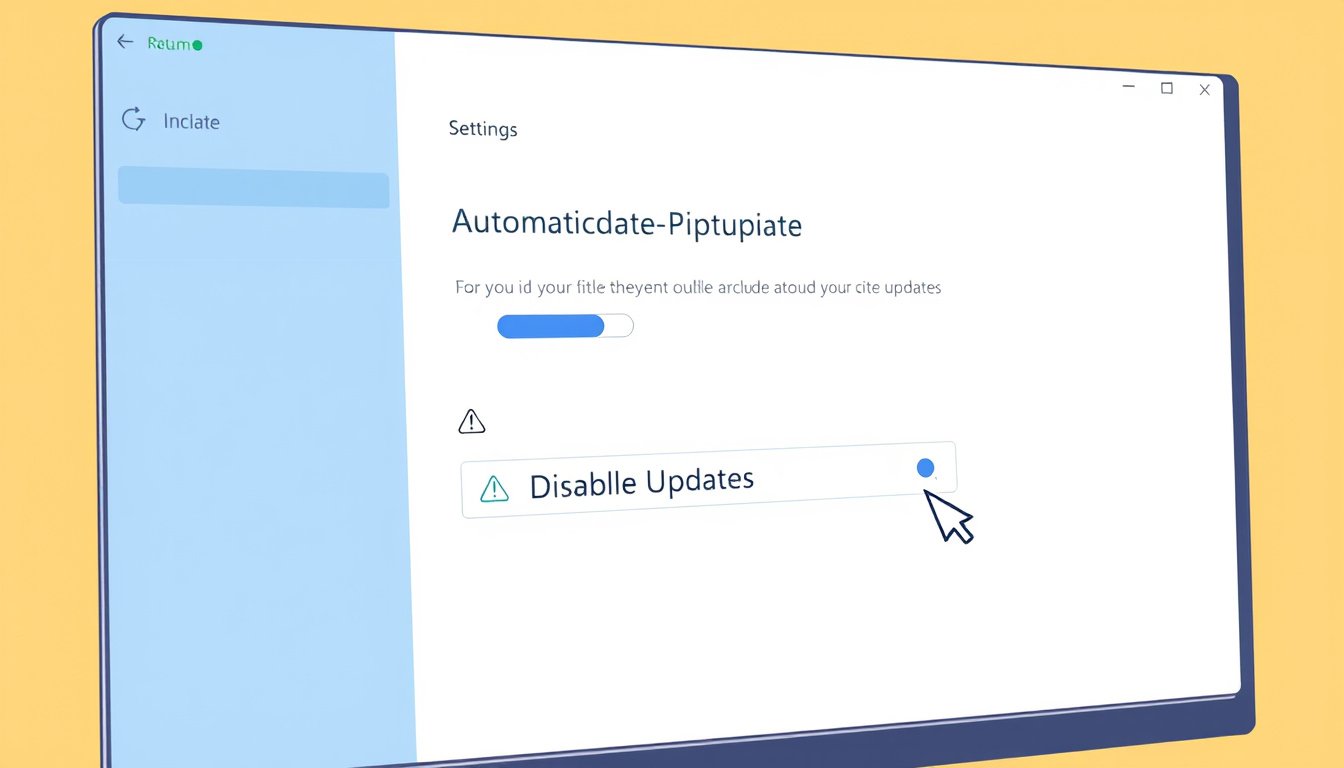
Method 1: Pause Updates via Settings
The simplest way to delay updates temporarily.
- Open Settings (Windows key + I).
- Navigate to Windows Update (left sidebar).
- Click Pause updates and select the duration (Windows 11 allows up to 3 weeks).
- Updates will halt for that period and then resume automatically.
This method ensures you won’t miss important updates but lets you delay the installation.
Method 2: Disable Windows Update Service (Temporary, Technical)
For more control, you can stop the Windows Update service, but it will restart at the next system reboot or upon manual reactivation.
- Press Windows key + R, type
services.msc, and press Enter. - Scroll down and find Windows Update.
- Right-click and select Properties.
- Under the General tab, set Startup type to Disabled.
- Click Stop to halt the service if it’s running.
- Click Apply and then OK.
- Restart your computer.
To re-enable updates, repeat the steps but set the startup type to Automatic or Manual, and start the service.
Method 3: Using Group Policy Editor (Windows 10/11 Pro and Enterprise)
This option lets you notify before downloading and installing updates rather than disabling them outright.
- Press Windows key + R, type
gpedit.msc, and hit Enter. - Navigate to:
Computer Configuration > Administrative Templates > Windows Components > Windows Update > Manage end user experience - Open Configure Automatic Updates.
- Select Enabled, then choose Notify for download and auto install.
- Click Apply and OK.
- Open Command Prompt as Admin and run:
gpupdate /force
This will ensure updates won’t install without your approval but you’ll still receive notifications.
Method 4: Registry Editor Editing (Advanced)
Altering the registry can disable automatic updates but is riskier and recommended only for experienced users.
- Open Run dialog (Windows key + R), type
regedit, and press Enter. - Navigate to:
HKEY_LOCAL_MACHINE\SOFTWARE\Policies\Microsoft\Windows - Right-click Windows > New > Key and name it
WindowsUpdate. - Right-click
WindowsUpdate> New > Key, name itAU. - In the
AUkey, right-click > New > DWORD (32-bit) Value. - Name it
NoAutoUpdateand set its value data to1. - Close the editor and restart your computer.
To enable updates again, delete the NoAutoUpdate DWORD or set its value to 0.
How to Temporarily Disable Automatic Updates on macOS
Apple devices also automatically download and install updates by default. To pause this on macOS:
- Click the Apple menu and select System Preferences.
- Choose Software Update.
- Uncheck Automatically keep my Mac up to date.
- Alternatively, click Advanced… to customize which updates auto-install (e.g., disable system updates but allow app updates).
This stops your Mac from installing updates without permission. You can manually check for updates anytime via System Preferences > Software Update.
How to Temporarily Disable Automatic Updates on iPadOS
iPads manage updates independently but you can disable automatic installs:
- Open Settings on your iPad.
- Tap General > Software Update.
- Select Automatic Updates.
- Toggle Install iOS Updates off.
Your iPad will still download updates but won’t install them automatically, requiring manual approval.
Best Practices When Disabling Automatic Updates
- Only pause updates temporarily. Holding back for weeks is fine, but keep your device updated regularly to patch security vulnerabilities.
- Use Active Hours (Windows feature) to prevent updates and restarts during your primary work hours.
- Always create backups before applying updates or changing system settings.
- Be cautious with Registry or Group Policy edits. Incorrect changes can destabilize your system.
- For critical devices, consider setting stricter update controls instead of fully disabling updates.
Conclusion
While automatic updates ensure your device is secure and up-to-date, they can sometimes interfere with your productivity or system availability. Fortunately, all major operating systems offer ways to temporarily disable or pause these updates, giving you the flexibility to update your device when convenient.
Utilize the settings menus, Services Manager, Group Policy Editor, or Registry Editor on Windows for tailored control. On macOS and iPadOS, system preferences allow easy pausing of automatic installs. Always remember to resume updates timely to maintain system health and security.
Master your device and take charge of your update schedule with these easy-to-follow techniques!
About the Author