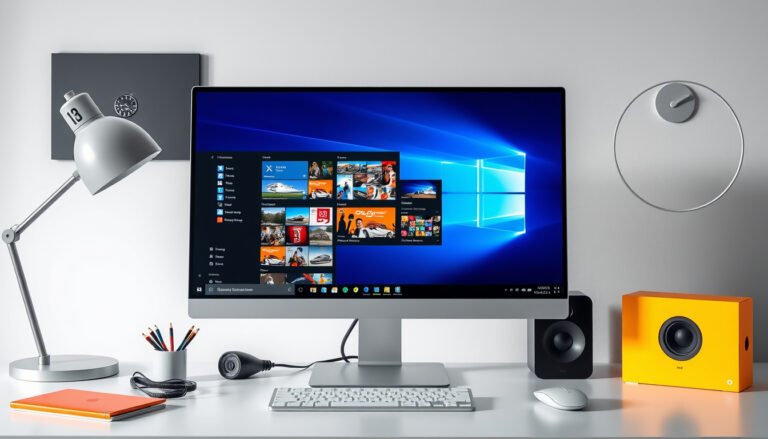

A cluttered desktop not only looks messy but can also hinder your workflow and productivity. Mastering the art of organizing your desktop icons can lead to a cleaner, more efficient digital workspace, making it easier to locate your important files, applications, and shortcuts quickly. Whether you use Windows 10, Windows 11, or earlier versions, this comprehensive guide will walk you through practical steps to organize your desktop icons effectively.


Why Organize Your Desktop?
The desktop is often the first thing you see after signing into your computer. As a hub for quick access, it can quickly become crowded with files, folders, and program shortcuts. Organizing desktop icons helps:
- Improve productivity by reducing time spent searching for items
- Create a visually pleasing and less distracting workspace
- Minimize system clutter, which can sometimes affect performance
- Enhance focus during presentations or screen sharing by hiding unnecessary icons
How to Arrange and Move Icons on Your Desktop
Windows provides easy ways to arrange and customize the positioning of your desktop icons.
1. Auto Arrange and Align to Grid
- Right-click on a blank area of the desktop.
- Hover over the View submenu.
- To automatically align icons and keep them neatly arranged, enable:
- Auto arrange icons: Automatically organizes icons in order by Name, Size, Type, or Date modified.
- Align icons to grid: Keeps icons evenly spaced.
- To manually arrange icons, uncheck Auto arrange icons, then drag icons freely.
2. Arrange by Criteria
- Right-click on the desktop.
- Select Sort by, then choose sorting criteria such as Name, Size, Item type, or Date modified.
- This reorganizes icons for easy access and logical grouping.

Customizing Desktop Icons
Personalizing desktop icons helps you identify preferred shortcuts and system folders more easily.
Adding and Removing Icons
- To add shortcuts, you can:
- Drag applications directly from the Start menu onto the desktop.
- For files or folders, right-click the item, select Send to > Desktop (create shortcut).
- For websites, drag the URL padlock icon to the desktop to create a shortcut.
- To remove an icon, right-click on it and select Delete. This removes the shortcut only — the actual file or application remains intact.
- Some system icons like Recycle Bin, This PC, and Network can be added or removed via Desktop Icon Settings (see below).
Changing Icon Images
- Right-click the desired icon and select Properties.
- Under the Shortcut tab, click Change Icon.
- Pick from available icons or browse to an
.icofile. - Click OK to apply changes. Not all icons support this feature.
Managing Default Desktop Icons in Windows
Windows includes default desktop icons which you can customize according to your preference:
- Recycle Bin
- This PC
- Network
- User’s Files
How to Add or Remove Default Icons
- Open Settings > Personalization > Themes.
- Click Desktop icon settings.
- Choose which default icons to display or hide.
- Optionally, uncheck Allow themes to change desktop icons to prevent icons from changing when the theme is altered.
Resizing Desktop Icons
Custom icon sizes can improve accessibility and reduce clutter:
- Right-click on the desktop.
- Hover over View.
- Choose between Large, Medium, or Small icons.
- Alternatively, hold Ctrl and scroll the mouse wheel to resize icons dynamically.
Showing or Hiding All Desktop Icons
You may want to hide your desktop icons temporarily for presentations or a distraction-free environment:
- Right-click on the desktop.
- Hover over View.
- Untick Show desktop icons to hide all icons.
- Repeat to show them again.
- To access files while icons are hidden, open File Explorer and navigate to
Desktopin the sidebar.
Tips for Optimal Desktop Organization
- Use folders: Group related icons into folders to reduce clutter and simplify navigation.
- Prioritize essentials: Keep frequently used apps and files on the desktop; archive or delete unnecessary shortcuts.
- Consistent layout: Maintain a habit of returning icons to their designated spots to avoid chaos over time.
- Leverage third-party tools: If you want advanced customization like icon labeling or automatic sorting, consider trusted desktop organization utilities.
Conclusion
An organized desktop is essential for a streamlined, productive computing experience. By taking advantage of Windows’ built-in features to arrange, customize, and control your desktop icons, you can create a clean and efficient digital workspace tailored to your workflow. Try these simple strategies today to master your desktop and boost your productivity.
References:
- Microsoft Support: How to arrange, move, and change desktop icons
- Microsoft Support: Customize Windows desktop icons and shortcuts
- Community insights on desktop organization from PC enthusiasts