In today’s digital age, safeguarding your important files against accidental loss, corruption, or hardware failure is essential. Windows offers a built-in feature called File History that helps protect your personal data by creating automatic backups of your files. This guide will walk you through what File History is, how it works, and provide clear instructions to enable and manage this handy backup tool on Windows 10 and Windows 11 PCs.


What is Windows File History?
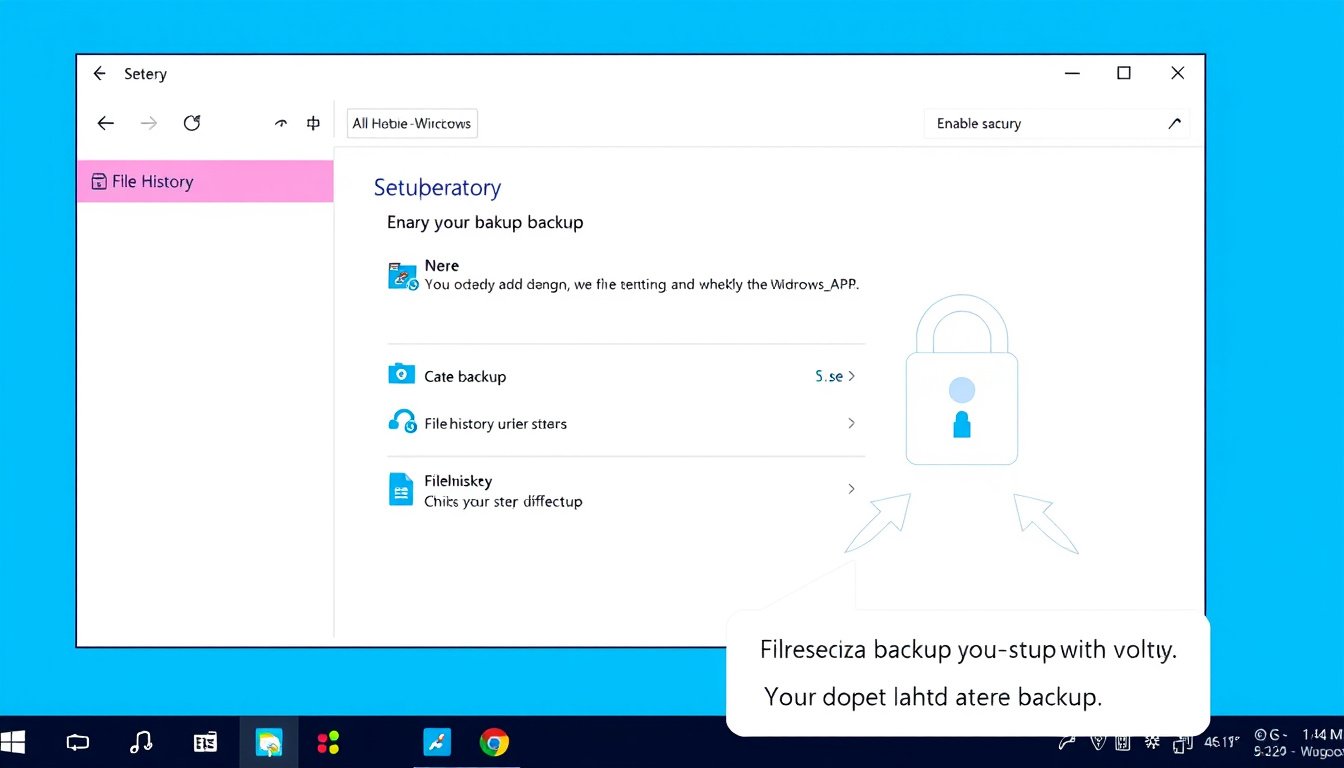
File History is a backup solution integrated into Windows that automatically saves copies of your files on an external drive or network location. Unlike full system backups, File History focuses on protecting specific user data—primarily files stored in your libraries such as Documents, Pictures, Videos, and Music.
By periodically copying your files, File History creates a timeline of versions, enabling you to restore previous versions of files if they are accidentally deleted, modified, or corrupted. This feature serves as a safety net for everyday use and can be critical when dealing with unexpected data loss.
How Does File History Work?
Once enabled, File History continuously monitors the contents of your user libraries and any additional folders you include in those libraries. It backs up changed files at regular intervals (default every hour, adjustable via settings) to a designated external drive or network share.
Key details:
- Default Backup Scope: Includes all default Windows libraries – Documents, Pictures, Music, Videos, and Desktop.
- Custom Folders: You can add extra folders to libraries to expand backup coverage.
- Versioning: Maintains multiple versions of files, allowing you to recover earlier edits or deleted files.
- Backup Location: External USB drives, external hard drives, or network shares can be used to store backup data.
Why Use File History?
- Easy File Recovery: Restore deleted files or differences between file versions without restoring an entire system image.
- Automatic Backups: Eliminates manual backup hassle by working silently in the background.
- Version Control: Keep track of changes and revert to older versions when necessary.
- Integration with Windows: File History uses familiar Windows tools for configuration and recovery.
While File History is advantageous for personal data backup, it is not a replacement for full system backups or cloud synchronization tools like OneDrive, which Microsoft now recommends for home users.
How to Enable File History in Windows 10 and Windows 11
Before starting, ensure you have an external storage device connected or access to a network location where backups will be saved.

Steps to Enable File History on Windows 10:
- Connect an external drive or set up a network share to use as the backup destination.
- Open Control Panel and navigate to System and Security > File History.
- If no drive is selected, click Select drive to choose the external drive or network location.
- Click Turn on to enable File History backup.
- (Optional) To back up additional folders, add them to a library by right-clicking the folder in File Explorer, selecting Show more options > Include in library.
Steps to Enable File History on Windows 11:
- Connect an external hard drive or network location.
- Go to Settings > System > Storage > Advanced storage settings > Backup options.
- Click Restore files with File History.
- Choose the drive or network share for backup.
- Click Turn On to activate File History.
Managing and Customizing File History
File History allows some customization to suit your preferences:
- Exclude Folders: You can specify which folders not to back up.
- Advanced Settings: Adjust the frequency of backups (e.g., every 10 minutes to daily) and how long backups should be retained.
- Cleanup Old Versions: Manually delete older backup versions to free up space on your backup drive.
How to Restore Files Using File History
If you need to recover a file or folder:
- Open File Explorer and navigate to the folder where the file was located.
- Right-click the folder or file and select Restore previous versions.
- From the versions listed, choose the backup date you want.
- Preview by opening versions or select Restore to recover the file.
- To avoid overwriting the current version, choose Restore to… and pick a different folder.
Important Notes and Limitations
- File History only backs up files in user libraries and folders added to libraries; files outside these locations will not be backed up unless added manually.
- The backup destination must always be connected or accessible for automatic backups to continue.
- Backups stored on the same local drive as your Windows installation do not protect against drive failures or theft.
- File History is not a comprehensive system backup tool; it does not back up program files or Windows system files.
- Microsoft is gradually shifting focus to cloud backup solutions like OneDrive, which offers file synchronization and versioning with seamless recovery.
Shared File History Across Dual-Boot Systems
If you use both Windows 10 and Windows 11 in a dual-boot setup, it is possible to share File History backups between the two operating systems:
- Ensure both OS versions point to the same backup location.
- File History settings reside in a configuration folder within the backup drive.
- Be cautious, as discrepancies in how each OS handles File History could affect seamless use.
- To transfer settings manually, copy configuration files from
%localappdata%\Microsoft\Windows\FileHistory.
Disabling File History
If you decide to turn off File History:
- Navigate to the same settings where you enabled it.
- Select the backup drive or location.
- Click Turn off to stop automatic backups.
- Optionally, you can clear stored backups from the external drive if no longer needed.
Conclusion
File History remains a convenient, built-in Windows feature that provides a foundational layer of data protection by backing up personal files and their versions to an external storage location. Although Microsoft recommends leveraging OneDrive as the primary backup solution—especially for Windows 11 users—File History can still serve as a useful secondary backup tool.
By following the steps laid out in this guide, you can unlock the power of backup with File History, minimizing the risk of data loss and gaining peace of mind knowing your precious files are safely stored and easily recoverable.
Remember: Regularly review your backup settings and test file restoration to ensure your data protection strategy is effective and reliable.