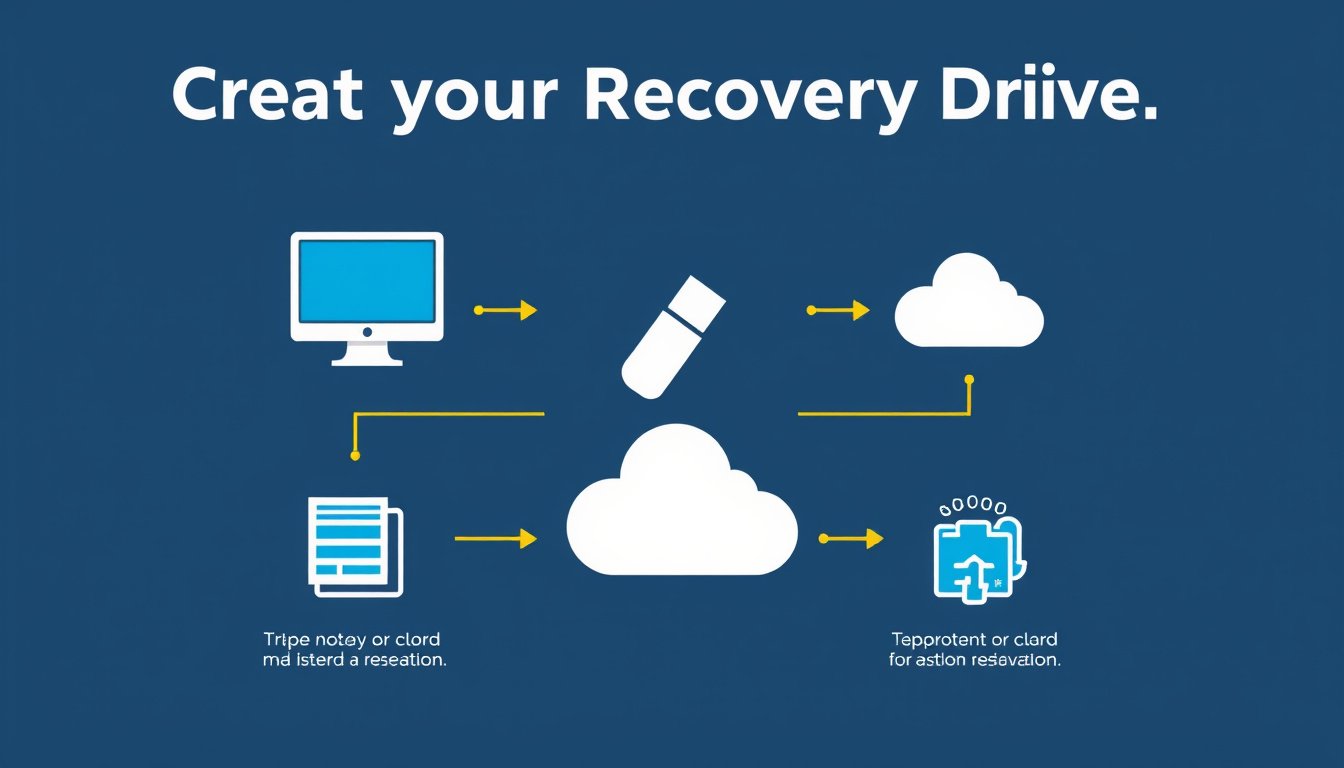
In today’s digital age, protecting your computer from unexpected system failures is crucial. One of the most effective preventive measures you can take is creating a recovery drive. This handy tool allows you to restore your PC to a functional state quickly, even if serious issues arise such as hardware failure or corrupted system files. This guide explains what a recovery drive is, why it’s important, and how to set one up on Windows devices—including specialized instructions for Microsoft Surface devices.
What is a Recovery Drive?
A recovery drive is a USB drive that contains essential system files and tools which help you troubleshoot and recover your Windows operating system if your PC fails to start or experiences critical errors. Unlike system backups that store your personal files, a recovery drive focuses on restoring core Windows files, factory settings, and device drivers, allowing you to:
- Repair startup problems.
- Reset your PC to factory defaults.
- Access advanced troubleshooting tools.
- Reinstall Windows without needing the original installation media.
Having a recovery drive is like having a safety net for your Windows system, ensuring you can restore it in “bare metal” scenarios where you might have replaced or wiped your hard drive.
Why Should You Create a Recovery Drive?
- Prepare for emergencies: If your PC suddenly won’t boot, a recovery drive allows you to access recovery options without needing to send your PC to a technician.
- Avoid losing OEM drivers and customizations: A recovery drive made with system files includes custom drivers and configurations unique to your PC manufacturer, saving time and hassle after reinstalling Windows.
- Maintain up-to-date restoration media: You can update your recovery drive yearly to include recent Windows updates.
- No additional software required: Windows has a built-in utility for creating a recovery drive, so no extra downloads or tools are necessary.
Note: A recovery drive does not back up your personal files. For safeguarding personal data, use methods like Windows Backup or File History.
How to Set Up a Recovery Drive on Windows 10 or 11
What You Need
- A USB flash drive: It should be empty and have at least 16 GB of storage (32 GB recommended for accommodating system files and updates).
- Your Windows PC, powered on and functioning.

Step-by-Step Instructions
- Insert the USB flash drive into your PC. Make sure it is empty because the process will erase all data on it.
- Open the Recovery Drive tool:
- Go to the Start menu and type "Recovery Drive", then select the matching app.
- Alternatively, press
Win + R, typerecoverydrive.exe, and press Enter.
- In the Recovery Drive window, ensure the option Back up system files to the recovery drive is checked (this creates a more complete recovery drive).
- Click Next and select your USB drive from the list.
- Click Create to start copying recovery files to your USB drive. This process may take some time, depending on your system and USB speed.
- Once completed, click Finish and safely eject the USB drive.
Using the Recovery Drive to Restore Your PC
When your PC fails to boot or requires a reset:
- Insert the recovery USB drive into your PC.
- Boot your computer from the USB drive. (You may need to change boot order settings in BIOS/UEFI or follow specific manufacturer instructions.)
- When the Windows Recovery Environment loads, choose Recover from a drive.
- Select either:
- Just remove my files: Quick reset deleting personal files.
- Fully clean the drive: Secure wipe, slower but more thorough (ideal if recycling or selling your device).
- Confirm and start the recovery process.
Your PC will then reinstall Windows using the saved system files and restore factory settings.
Special Considerations for Microsoft Surface Devices
Microsoft Surface devices have a tailored recovery process:
- Download the factory recovery image: Visit the Surface Recovery Image Download page, select your Surface model, and download the recovery image (.zip file).
- Prepare a USB drive: Use a USB 3.0 drive, formatted as FAT32 with enough free space (often 32 GB).
- Create the recovery drive using Windows’ tool: Insert your USB, launch the Recovery Drive tool, create the drive, and then copy the downloaded recovery image files to this USB.
- Boot Surface from the USB drive: Plug it in, press and hold the volume-down button, then press the power button; release the volume button when the logo appears.
- Follow on-screen recovery prompts to reset or troubleshoot your Surface.
If the recovery drive doesn’t work, ensure that USB boot is enabled in Surface UEFI firmware settings and that the USB device is listed first in boot order.
Best Practices and Tips
- Keep your recovery drive updated: Recreate or update your recovery drive every year or after major Windows updates to include the latest files.
- Use a high-quality USB drive: A USB 3.0 or higher drive ensures faster creation and recovery times.
- Keep a separate backup for personal files: Use Windows Backup or File History alongside your recovery drive to safeguard documents, photos, and other data.
- Label your recovery drive: Clearly mark your USB recovery drive to avoid accidental data loss or misuse.
Conclusion
Setting up a recovery drive is a simple yet powerful step toward ensuring your Windows PC’s resilience in face of software failures. By proactively creating this tool, you equip yourself with the means to troubleshoot, repair, and restore your system quickly and efficiently—minimizing downtime and potential frustration. Whether you use a standard PC or a Microsoft Surface device, following the outlined steps will give you peace of mind in any recovery scenario.
Create your recovery drive today and rest easy knowing help is just a USB plug away!


