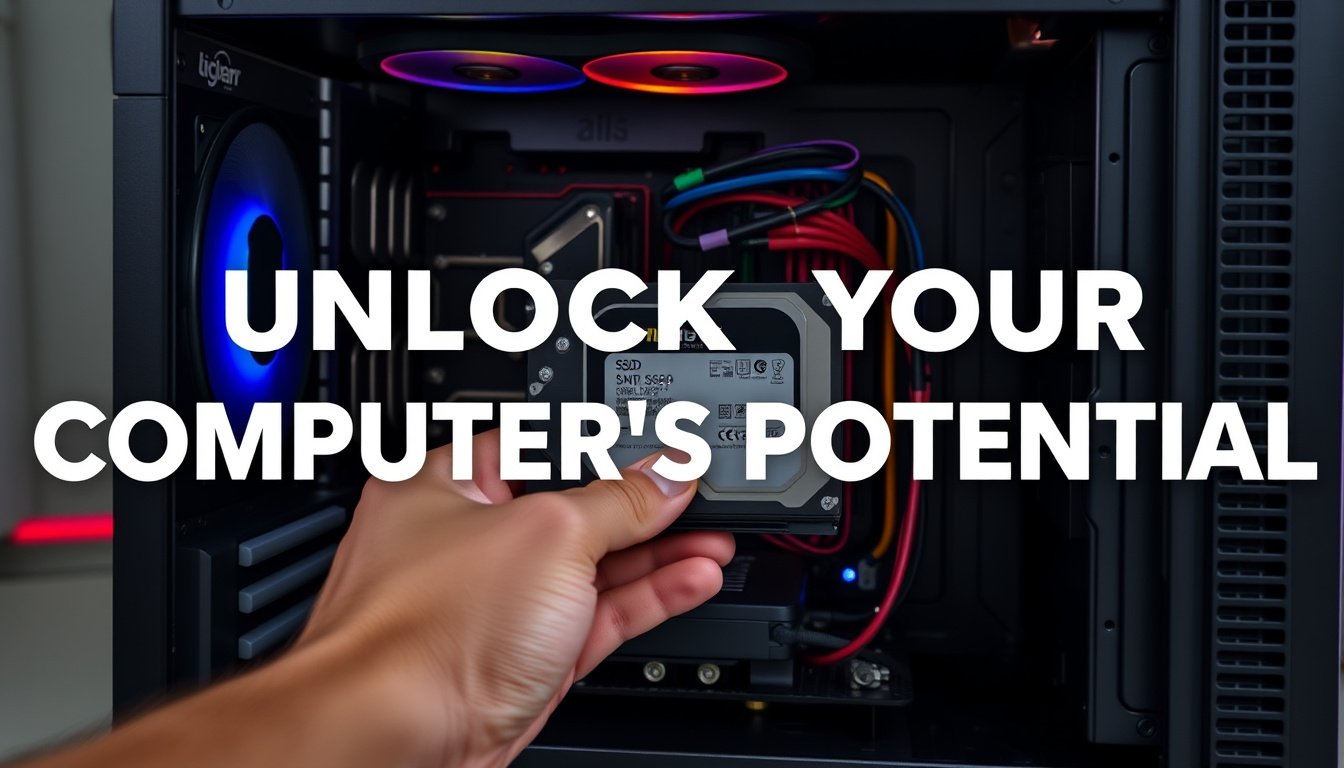
Upgrading your computer’s storage to a Solid State Drive (SSD) is one of the most effective ways to boost overall system performance, reduce boot times, and enhance the speed of applications. Whether you’re running a desktop or laptop, transitioning from a traditional hard disk drive (HDD) or smaller SSD to a larger, faster SSD can revitalize your machine and improve your computing experience. This guide will walk you through everything you need to know to upgrade to an SSD—from understanding the benefits and choosing the right SSD, to installation tips and migrating your operating system.

Why Upgrade to an SSD?
SSDs offer several advantages over traditional hard drives:
- Speed: SSDs use flash memory to provide faster data access, significantly reducing boot times and speeding up software loading.
- Durability: Without moving parts, SSDs are more resistant to physical shock and less likely to fail due to mechanical issues.
- Energy Efficiency: SSDs consume less power, which is beneficial especially for laptops, extending battery life.
- Noise Reduction: SSDs operate silently compared to spinning hard drives.
Games, large-scale software, and multitasking benefit particularly from SSDs because of their rapid response times.
Types of SSDs Available
When selecting an SSD, it’s essential to recognize the types and compatibility with your system:
-
SATA SSDs: These connect via the Serial ATA interface and are generally affordable and compatible with most computers. They offer speeds significantly faster than HDDs but are slower than NVMe drives.
-
NVMe (Non-Volatile Memory Express) SSDs: Utilize PCIe lanes to offer blazing-fast data transfer rates. These drives often come in M.2 form factors and require motherboard support for NVMe.
-
External SSDs: Portable drives that connect via USB, perfect for additional storage or backups without internal installation.
Before purchasing, check your motherboard’s specifications or use system scanning tools from manufacturers like Crucial to verify compatibility.
Preparing for the Upgrade
1. Check Compatibility
Identify the interface your computer supports (SATA or M.2 NVMe) by consulting your computer or motherboard manual or running a system scanner tool. This ensures your SSD can be installed and operate at optimal speeds.
2. Data Backup
Before any hardware changes, back up all important data to avoid loss during the upgrade process.
3. Cloning vs. Fresh Install
-
Cloning: You can clone your existing drive to the new SSD using software such as Acronis True Image. This transfers your operating system, applications, and files, allowing you to boot from the new drive without reinstalling Windows.
-
Fresh Installation: Alternatively, perform a clean install of your operating system on the SSD for a fresh start, which may enhance performance and reduce legacy issues.
Steps to Upgrade to an SSD
Step 1: Gather Tools and Materials
- SSD compatible with your system
- USB-to-SATA or M.2 enclosure/adaptor (if cloning from an external device)
- Screwdriver (usually Phillips head)
- Cloning or disk imaging software (if applicable)
Step 2: Connect the SSD
If cloning, connect the new SSD externally to your computer via a USB-to-SATA or M.2 adapter. In internal installs, you’ll open your computer and connect the SSD to the appropriate slot or port.
Step 3: Clone Existing Drive or Install OS
- Use cloning software to duplicate your current drive’s data to the SSD.
- If doing a fresh install, create a bootable USB with your operating system and install it on the SSD.
Step 4: Swap Drives or Set Boot Priority
- Power down the system and replace the old drive with the SSD if the SSD will be your primary drive.
- Configure BIOS/UEFI settings to ensure your system boots from the new SSD. This might require changing the boot order.
Step 5: Verify and Optimize
- Boot up your computer and verify that the SSD is recognized and functioning.
- Run system optimization for SSDs, such as enabling TRIM support and disabling disk defragmentation, to maintain performance.
Tips and Troubleshooting
- Motherboard Compatibility: Some older systems may not support NVMe SSDs or certain drive sizes; verify before purchasing.
- Cloning Challenges: Not all cloning processes are perfect; if issues arise, a fresh OS install may be necessary.
- Firmware Updates: Update your SSD’s firmware for reliability and improved performance.
- Data Migration Tools: Use manufacturer-provided tools for hassle-free data migration and compatibility checks.
Conclusion
Upgrading your computer to an SSD is a powerful upgrade that unlocks significant speed and responsiveness improvements. By understanding the types of SSDs, ensuring compatibility, carefully preparing your data, and following a systematic installation process, you can transform your computing experience. Whether you’re aiming to run demanding games, manage large files, or simply speed up everyday tasks, an SSD upgrade is a worthy investment to keep your computer performing at its best.


