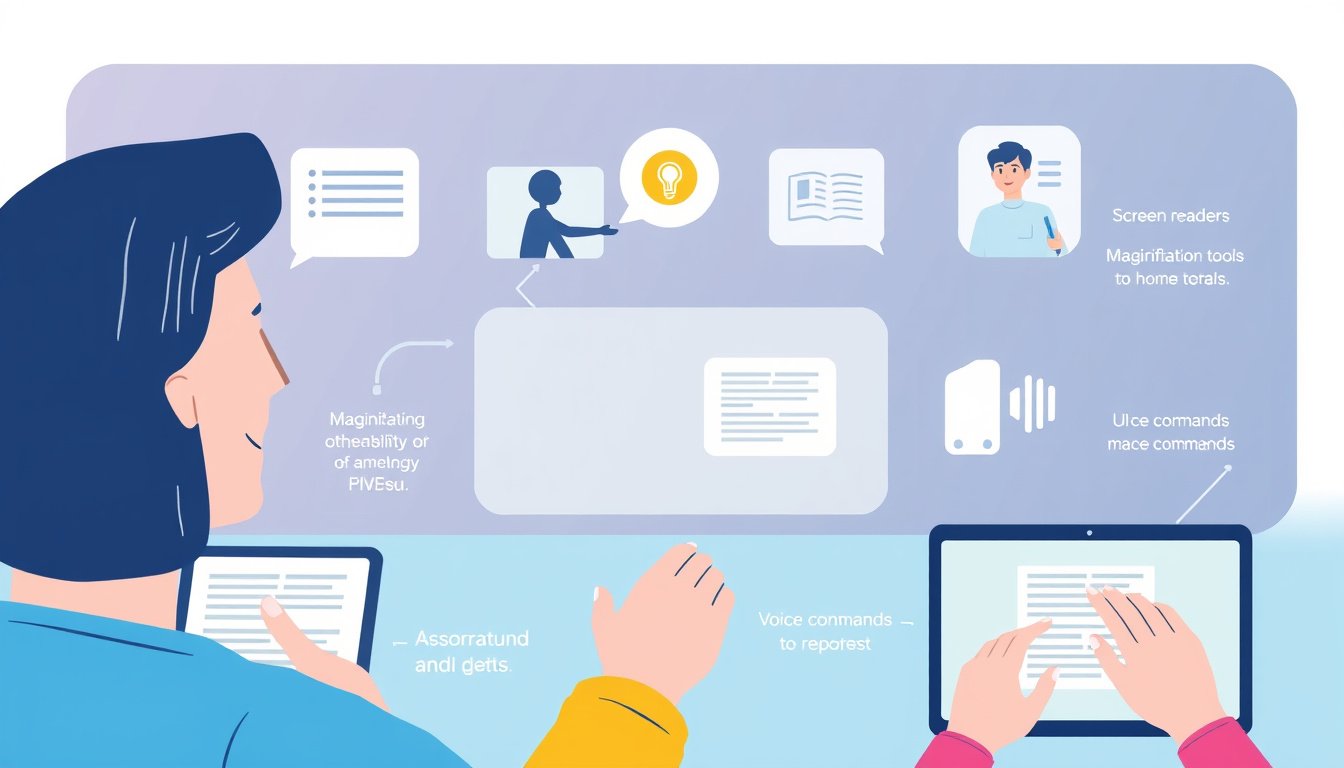
In today’s digital world, accessibility features have become essential tools that ensure everyone can use technology with ease, regardless of physical or sensory limitations. These features are designed to remove barriers and enhance the experience for people with disabilities, helping them navigate devices and software more efficiently. This guide explores how to use accessibility features on various devices—from smartphones to computers—and highlights key tools and tips to get you started.
What Are Accessibility Features?
Accessibility features are built-in or add-on technologies that adapt devices and software to meet the needs of users with disabilities. They enable individuals with vision, hearing, mobility, or cognitive challenges to interact with digital content more effectively. Some examples include screen readers for users who are blind, closed captions for those with hearing impairments, and voice control for users with limited mobility.
While many accessibility tools are included out-of-the-box on modern devices, some advanced features may require external assistive technologies or software downloads.
Accessibility Features Across Devices
On Smartphones and Tablets
Mobile devices like iPhones and Android phones come with a broad range of accessibility settings:
-
Vision-related tools: Features like VoiceOver on iPhones read out on-screen text aloud, while Magnifier turns your device into a digital magnifying glass. You can also customize text size, enable high-contrast themes, and use zoom options for better readability.
-
Hearing aids: Options include closed captioning for videos and mono audio that sends the same sound signal to both ears, aiding users with hearing loss on one side.
-
Touch and interaction: For those with limited dexterity, features like AssistiveTouch offer alternative gestures, while Switch Control allows interaction through external switches or adaptive devices.
On iOS devices, you can find these options under Settings > Accessibility, while Android devices typically place them in Settings > Accessibility or similar menus.
On Computers and Laptops
Both Windows and macOS provide built-in accessibility tools that can be customized as needed:
-
Screen readers: Windows has Narrator, and macOS includes VoiceOver to verbalize what’s on the screen.
-
Keyboard accessibility: Features such as Sticky Keys let users press keys sequentially instead of simultaneously, while Filter Keys ignore brief or repeated keystrokes.
-
Magnification and contrast: Screen magnifiers zoom in on content, and high-contrast or inverted color themes help improve visibility.
-
Speech recognition: Allows voice commands and dictation to control the device or input text.
Activate these features via Windows Settings > Ease of Access or Control Panel, and on Macs through System Preferences > Accessibility.
Web Browsers and Online Content
Most modern web browsers come packed with tools to enhance web accessibility:
-
Zoom functions: Easily magnify text and images using keyboard shortcuts (e.g., Ctrl + Plus/Minus on Windows, Command + Plus/Minus on Mac).
-
Reader modes: Many browsers offer simplified views of web pages that remove unnecessary clutter.
-
Built-in accessibility: Screen reader support and keyboard navigation help users access web content more comfortably.
Using these browser features improves everyday web navigation for users requiring assistance.

Assistive Technology Devices
In addition to software features, some users benefit from specialized hardware known as assistive technology:
-
Screen magnifiers: These physical overlays or devices enlarge screen content beyond what software zoom can provide.
-
Alternative keyboards and mice: Keyboards with larger keys or customized layouts facilitate easier typing, while adapted mice respond to small or alternative movements.
-
Switch devices: These enable users with severe mobility impairments to control computers using simple actions like a puff of air or a head tilt.
Organizations such as Ablenet and Inclusive Technology offer a range of assistive technology devices and resources.
How to Get Started Using Accessibility Features
-
Identify your needs: Consider what challenges you face when using your device—vision, hearing, or mobility issues—and which features might help.
-
Explore settings: Access the Accessibility section in your device’s settings menu and try out features like text enlargement, voice control, or closed captions.
-
Practice and customize: Spend time adjusting the settings to find the combination that fits your preferences and use cases.
-
Seek tutorials and support: Many manufacturers provide extensive guides and support communities—Apple, Microsoft, and Google each maintain detailed help sites for their accessibility options.
-
Consider assistive devices: If built-in features aren’t enough, explore external devices that meet your specific needs.
Additional Resources
- Apple Accessibility: Comprehensive support for Apple products’ accessibility tools.
- Microsoft Accessibility: Guides and updates on Windows and Office suite features.
- Google Accessibility: Resources for Android devices and Chrome browser.
- My Web My Way (BBC): Practical guides on adapting web browsing settings.
- National Center for Learning Disabilities: Information on accommodations and assistive tools for learning challenges.
Conclusion
Accessibility features empower users to overcome digital barriers and enjoy the full potential of modern technology. Whether you need audible feedback, alternative input methods, or visual enhancements, today’s devices offer numerous options to customize your experience. Don’t hesitate to explore these features, tailor them to your needs, and leverage assistive technologies to ensure your digital world is accessible to you.
By understanding and utilizing accessibility features, you create a more inclusive and manageable interaction with your devices, enhancing productivity, communication, and enjoyment. Take the first step today and discover the tools designed to make technology work for everyone.


