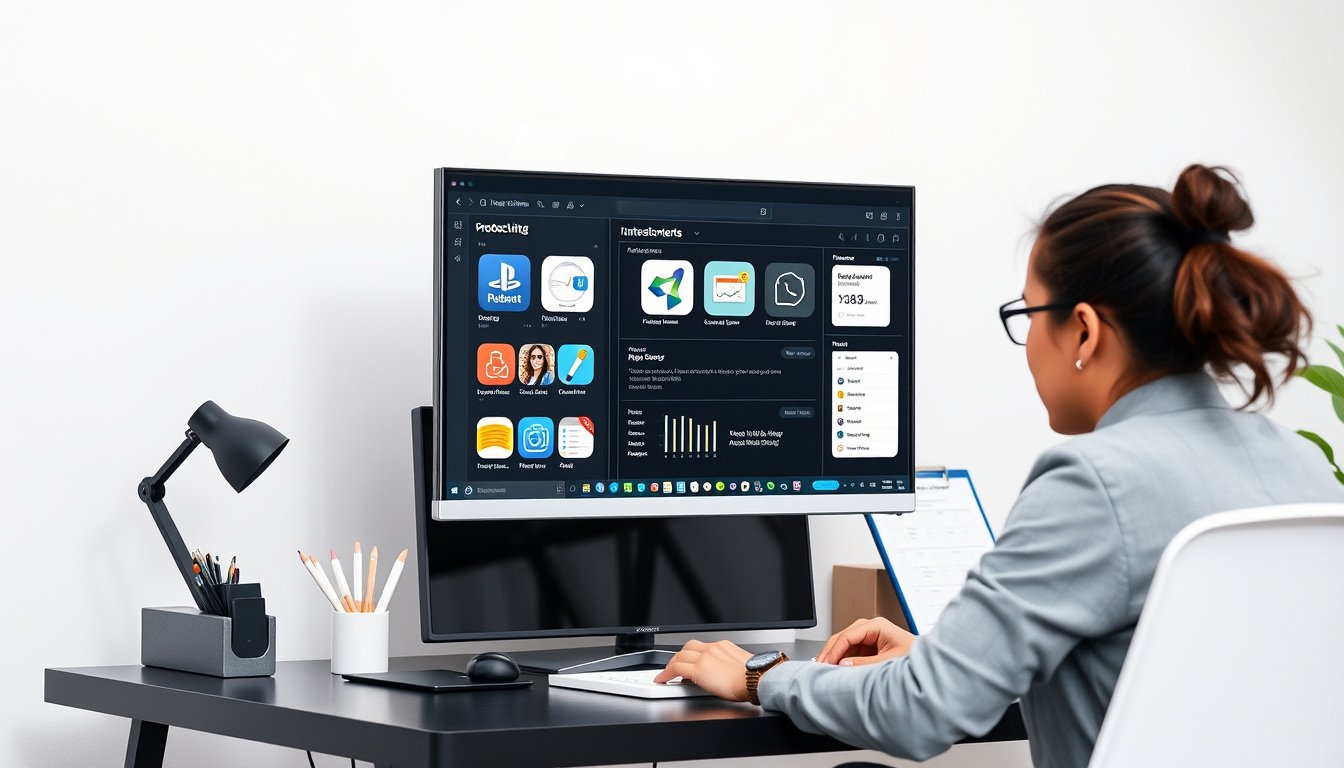
Using an external monitor can significantly enhance your productivity, improve ergonomics, and create a more comfortable and efficient workspace. Whether you use a Windows PC, a Mac, or a laptop on the go, connecting and configuring an external display is relatively straightforward once you know the basics. This guide will walk you through everything you need to know about using an external monitor—from setup and configuration to troubleshooting and optimizing your display settings.
Why Use an External Monitor?
Adding an external monitor expands your screen real estate, allowing you to have multiple applications, documents, or windows open simultaneously without constant tab switching. This multi-monitor setup is ideal for:
- Multitasking: Manage email, video calls, research, and document editing side-by-side.
- Improved Ergonomics: Position screens at eye level to reduce neck and eye strain.
- Enhanced Creativity and Productivity: Graphic designers, developers, and data analysts benefit from additional screen space.
- Gaming and Entertainment: Enjoy immersive experiences with larger or multiple displays.
How to Connect an External Monitor
Identify Your Ports and Cables
Your first step is to identify what type of ports your computer supports and match the appropriate cable to the monitor:
- HDMI: Common on most monitors and laptops. Supports both video and audio through one cable.
- DisplayPort: Similar to HDMI but primarily found on desktop PCs and professional monitors.
- USB-C / Thunderbolt 3 or 4: Found on modern laptops and Macs, these support video, audio, and data transfer.
- VGA or DVI: Older standards, mostly on legacy devices.
- Adapters: If ports don’t match, use an adapter (e.g., USB-C to HDMI) or a docking station.

Connecting Windows PCs
- Plug your monitor into a power source.
- Connect the video cable from the monitor to your Windows PC or laptop.
- Turn on the monitor and your PC. Windows should automatically detect the display.
- If it doesn’t, go to Settings > System > Display and click Detect.
- Use the Windows key + P shortcut to choose your display mode:
- PC screen only: Use only the laptop screen.
- Duplicate: Mirror your main screen on the external monitor.
- Extend: Expand your desktop across both screens (recommended for productivity).
- Second screen only: Use only the external monitor.
Connecting a Mac
- Connect your monitor to power.
- Plug the video cable into your Mac’s Thunderbolt/USB-C or HDMI port.
- macOS will usually detect the display automatically.
- Open System Settings > Displays to arrange, mirror, or change resolution.
- To rearrange screens or change the primary display, open the Arrangement tab where you can drag and drop display icons.
- For advanced setups, Macs support connection to 4K, 8K displays, and even using an iPad as a second screen with Sidecar.
Configuring Your External Monitor
Rearrange Display Layout
In your operating system’s Display settings, you’ll see a graphical representation of your screens:
- Drag the monitor icons to match their physical placement on your desk.
- This allows your mouse pointer to move naturally between screens.
- Use the Identify feature to display the screen number directly on the monitors.
Resolution and Scaling
- Adjust resolution for clarity and size; higher resolution offers more workspace but can make elements smaller.
- Scaling increases UI element size for readability without sacrificing workspace.
- Both Windows and macOS automatically recommend optimal settings, but you can customize as needed.
Orientation
- You may physically rotate your external monitor for portrait mode (useful for coding or reading long documents).
- Adjust orientation in display settings to match the rotation.
Troubleshooting Tips
When Your External Monitor Is Not Detected
- Check that cables are firmly connected and the monitor is powered on.
- Verify that the correct input source is selected on the monitor.
- On Windows, press Windows key + P to try different display modes.
- Use the Detect button in display settings.
- Restart your computer to refresh device detection.
- Try different cables or ports to rule out hardware faults.
- For wireless connections (Windows only), use Windows key + K to cast to a wireless display or adapter.
- On Macs, press Option while opening the Displays settings and use Detect Displays.
Extending Your Workspace Beyond Traditional Monitors
Using Tablets as External Displays
- For Mac users, Apple Sidecar lets you use an iPad as a wireless second display, perfect for portability and flexibility.
- Windows users can use third-party apps like Duet Display to turn an iPad or other tablets into an additional monitor.
Wireless Display Options
- Newer smart TVs and wireless display adapters allow you to project your screen without cables.
- Windows has built-in support for wireless displays with the Cast feature, accessed by Windows key + K.
Conclusion
Setting up and using an external monitor is a powerful way to increase your workspace, reduce eye strain, and boost productivity. Windows and macOS both provide intuitive ways to connect, configure, and manage multiple displays to suit your workflow. Whether you use a wired connection or leverage wireless casting technology, external monitors transform your computing experience into a more efficient and comfortable environment.
Take the time to experiment with settings like screen arrangement, resolution, and orientation to find the configuration that best supports your tasks. With your external monitor ready and optimized, you’re all set to work smarter, not harder.


