Sharing files across devices in your home or office can dramatically improve productivity and convenience. Utilizing your local network for file sharing enables fast, secure, and direct access to folders and files without relying on internet services. This guide walks you through understanding, setting up, and troubleshooting local network sharing on Windows systems to empower you with seamless file exchange within your network.


What Is Local Network Sharing?
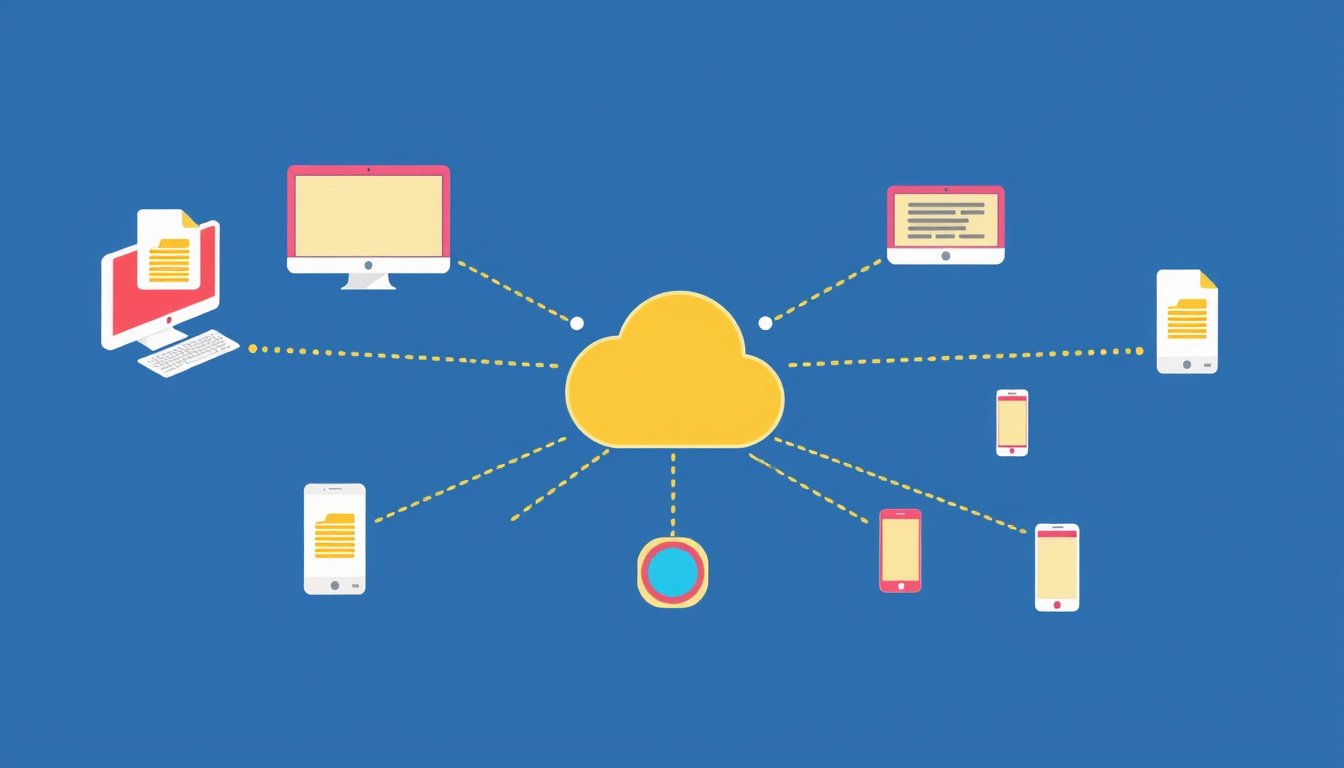
Local network sharing involves making files and folders on one computer accessible to other computers connected to the same local network—typically your home Wi-Fi or an office Ethernet network. Unlike cloud services, this method transfers data directly between devices, often resulting in faster speeds and enhanced privacy.
How Local Network Sharing Works on Windows

Windows uses built-in networking capabilities to share folders and files using network shares. A network share corresponds to a specific folder on your PC made accessible to other authorized users on the network.
Key features include:
- Network Discovery: Lets your PC see and be seen by other devices on the network.
- File and Printer Sharing: Enables sharing of files and printers with other network users.
- Shared Folder Permissions: Controls who can access shared folders and what they can do (read, write, full control).
- Password Protected Sharing: Provides an extra layer of security by requiring users to log in with valid credentials unless disabled.
Setting Up Local Network Sharing Step-by-Step
Follow these steps to configure file sharing between Windows computers:
1. Ensure Your Network is Set to Private or Work
For sharing to work smoothly, your network profile should be set to Private or Work, not Public. Public networks restrict sharing by default.
- Go to Settings > Network & Internet > Wi-Fi (or Ethernet) > your Network > Properties
- Under Network profile, select Private or Work
2. Turn On Network Discovery and File Sharing
- Open Control Panel > Network and Sharing Center > Advanced sharing settings
- Under your current profile (Private or Work):
- Select Turn on network discovery
- Select Turn on file and printer sharing
- Under All Networks, you can turn off password protected sharing if you want access without passwords (less secure).
3. Share the Folder
- Right-click the folder you want to share and select Properties
- Go to the Sharing tab and click Advanced Sharing
- Check Share this folder
- Assign a Share name (how the folder appears on the network)
- Click Permissions and add Everyone with the desired permission level (Read, Change, Full Control)
- Confirm all dialogs
4. Set File System Permissions
Network share permissions work alongside NTFS file system permissions:
- In the folder’s Properties, open the Security tab
- Click Edit, then Add
- Type Everyone and click OK
- Set permissions (e.g., Full Control) and confirm
5. Access the Shared Folder from Another Computer
- Open File Explorer
- In the address bar, enter
\\PC-NAME\ShareNamewhere "PC-NAME" is the hostname or IP address of the host PC, and "ShareName" is the folder’s share name. - Alternatively, navigate to Network, find the host PC, and browse shared folders.
6. Map Network Drive (Optional)
To make access permanent and convenient:
- In File Explorer, right-click This PC, choose Map network drive
- Select a Drive letter
- Enter the folder path (
\\PC-NAME\ShareName) - Select Reconnect at sign-in if desired
- Click Finish
Troubleshooting Common Issues
Cannot See Other Computers or Shares
- Ensure all devices are connected to the same network and set to Private or Work
- Make sure Network Discovery and File and Printer Sharing are enabled on all devices
- Verify firewall settings are not blocking file sharing
Can’t Access Shared Folder/Permission Denied
- Confirm share permissions and NTFS file system permissions allow your user or Everyone appropriate access
- Check if Password Protected Sharing is enabled; enter the correct username and password if necessary
- Ensure the host PC is powered on and reachable
Testing Network Connectivity
- Use
ping PC-NAMEorping IP-ADDRESSfrom the command prompt on the client machine to verify communication
Additional Tips for Optimal Sharing
- Use static IP addresses or reserved DHCP addresses to avoid changing addresses disrupting access.
- Maintain updated Windows versions on all machines for security and compatibility.
- Regularly review shared folders and permissions to ensure privacy.
- For larger files or frequent sharing, a wired Ethernet connection can provide better speeds and stability.
Conclusion
Using local network sharing is a powerful, secure, and efficient way to manage your files among devices connected within the same network environment. By understanding the settings and permissions involved, you can take full control of file sharing in Windows, leading to enhanced collaboration and productivity without relying on external cloud services. With proper setup and security considerations, your local network becomes an invaluable tool for seamless data exchange.
Ready to unlock the full potential of your local network? Start by setting up your shared folders today and experience hassle-free file sharing across all your devices.