

With the increasing reliance on internet-connected devices and the frequent presence of visitors needing internet access, setting up a guest Wi-Fi network has become an essential step for securing your home or office network. A guest Wi-Fi network allows visitors to connect to the internet while protecting your primary network and devices from unauthorized access or security risks. This guide explains what a guest Wi-Fi network is, why you need one, and provides simple instructions to enable guest Wi-Fi on your router.


What Is a Guest Wi-Fi Network?
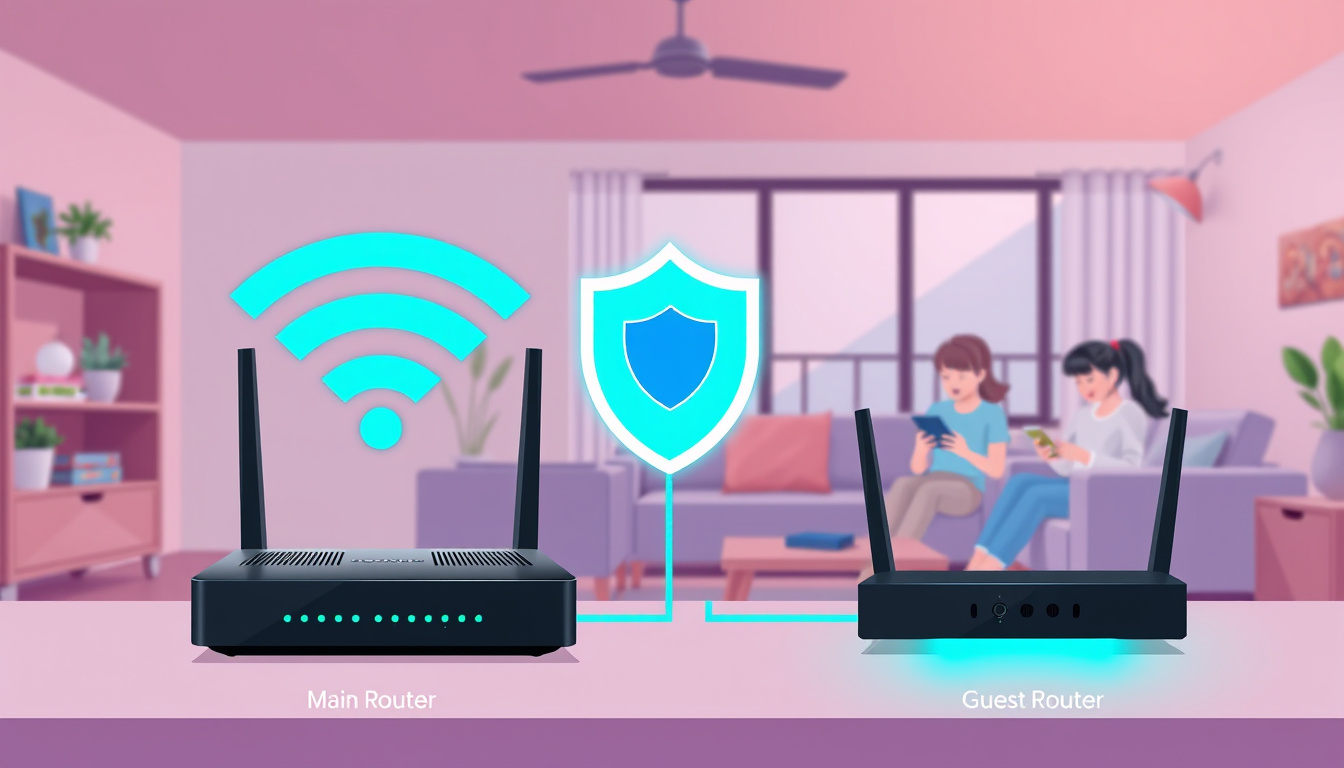
A guest Wi-Fi network is a separate wireless network created within your router that allows visitors to use your internet connection without granting them access to your primary network or devices such as printers, shared files, or smart home gadgets. This network isolation enhances security and privacy by segregating guest users from your main network resources.
Think of it as giving your guests access to a “guest bathroom” rather than your private one: they get the internet service they need without invading your personal network space.
Why Should You Enable Guest Wi-Fi?
1. Enhanced Security
When guests connect to your main network, their devices (which you don’t control or know the security status of) may unintentionally introduce malware or viruses that could infect your devices or expose sensitive data. Guest Wi-Fi isolates guests to minimize such risks.
2. Protected IoT Devices
Internet of Things (IoT) devices like smart TVs, thermostats, and smart plugs often have weaker security protections and are vulnerable to external attacks. Keeping these devices on your primary network and guests on the guest network protects your IoT ecosystem.
3. Prevent Unauthorized Access
Without a guest network, visitors might accidentally access shared resources (files, printers) that you want to keep private.
4. Bandwidth Management
Guest Wi-Fi lets you limit bandwidth usage for visitors, preserving the quality of your internet connection for your essential devices.
5. Convenience
A dedicated guest network with an easy-to-share password or QR code can simplify giving your visitors internet access without exposing sensitive network credentials.
How to Enable Guest Wi-Fi Networks: Step-by-Step
Method 1: Using Your Router’s Web Interface
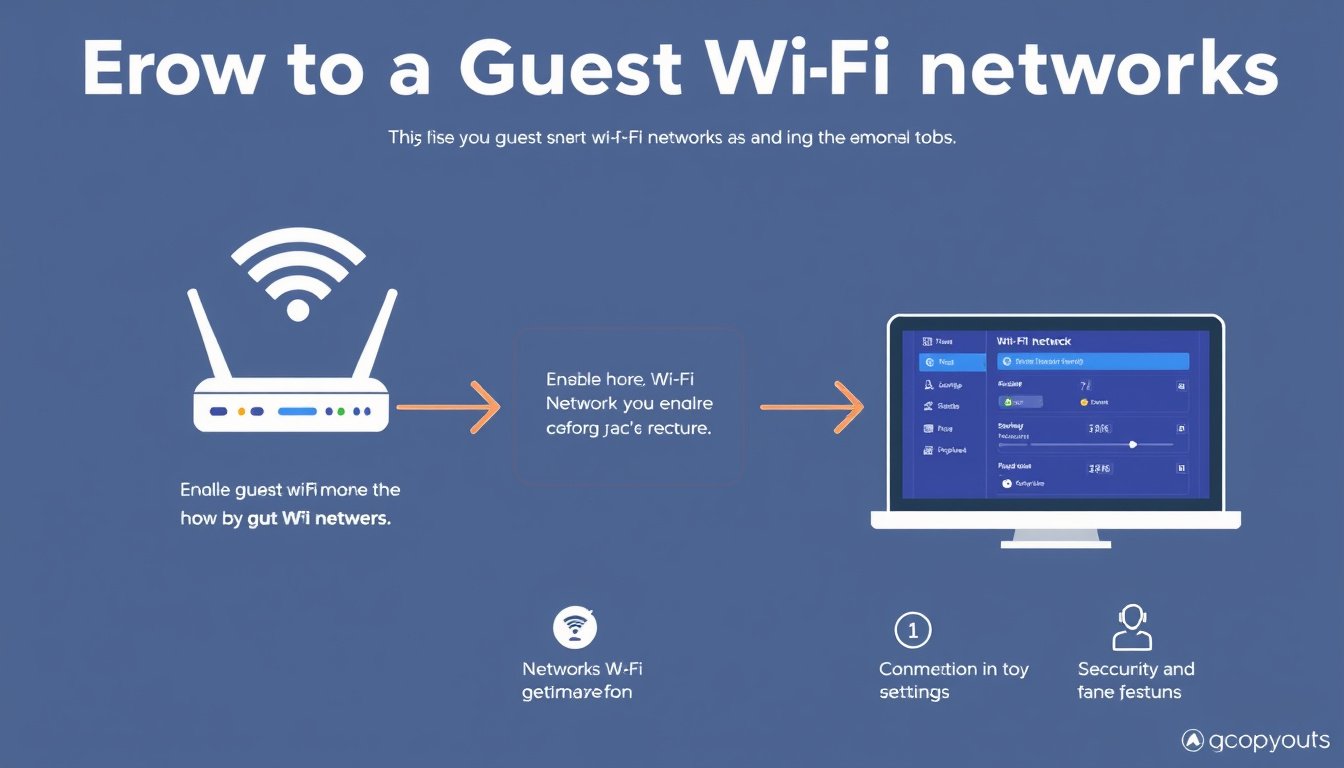
Most modern routers support the option to create a guest Wi-Fi network via their admin interface.
-
Find Your Router’s IP Address
Usually found on the back of your router or in its manual. Common addresses are 192.168.0.1 or 192.168.1.1. 2. Access Router Admin Panel
Open a web browser, enter the router’s IP address, and log in with admin credentials. -
Locate the Guest Network Settings
Browse to sections labeled Wireless Settings, Guest Network, or similar. -
Enable Guest Wi-Fi
Turn on the guest Wi-Fi feature. -
Set Network Name (SSID) and Password
Create a unique SSID for your guest network, often appended with “_guest” or “-guest,” and set a strong password using WPA2 or WPA3 encryption. -
Configure Access Restrictions
Ensure the guest network is isolated to internet access only, blocking access to your primary network and shared resources. -
Save Settings and Reboot Router if Needed
Method 2: Using Router or Internet Service Provider (ISP) Apps
Many ISPs and router manufacturers offer mobile apps that allow you to manage your Wi-Fi network easily. These apps often provide a user-friendly interface to create guest Wi-Fi networks.
- Open the app associated with your ISP or router.
- Navigate to guest Wi-Fi settings.
- Enable guest network, set SSID and password.
- Optionally, set time or device limits.
- Save and activate the network.
Alternative Setup for Routers Without Guest Network Feature
If your router does not support guest networking:
-
Use Two Routers Setup:
Connect a second router to your main router’s LAN port. Configure the second router with a different subnet and enable DHCP. Use the first router for the guest network and the second for the main network (or vice versa). This setup physically separates traffic to achieve guest network-like isolation. -
Be Mindful of Firewall and Access Rules:
Properly configure firewall rules to prevent guest devices from accessing the main network.
Best Practices for Guest Wi-Fi Security
-
Always Use a Password:
Never leave your guest network open. Use strong WPA2 or WPA3 encryption and update passwords regularly. -
Limit Network Access:
Block guest access to your internal network devices and shared storage. -
Control Bandwidth:
If possible, set bandwidth limits to prevent guests from consuming excessive resources. -
Monitor Connected Devices:
Regularly check which devices are connected via your router’s admin interface to identify unauthorized users. -
Separate SSIDs:
Use distinctive SSIDs for your main and guest networks to avoid confusion.
Frequently Asked Questions
Is Guest Wi-Fi Really Secure?
Yes, when properly configured, guest Wi-Fi networks isolate visitors from your private network and devices, adding a crucial layer of defense against malware spread or unauthorized access.
Will Guest Wi-Fi Slow Down My Internet?
Guest networks share your overall internet bandwidth. While having more devices connected can reduce speed per device, guest Wi-Fi itself does not inherently reduce performance.
Can I Use WPS to Set Up Guest Wi-Fi?
No, WPS connects devices directly to your primary network without creating a separate guest segment, so it does not provide the security benefits of a guest network.
Conclusion
Enabling a guest Wi-Fi network is a straightforward yet powerful way to enhance your network security and protect your private devices from potential threats introduced by visitors. Whether through your router’s built-in options, an ISP app, or a two-router setup, isolating guest traffic gives you peace of mind and a better-connected environment.
By following the above steps and security measures, you can confidently provide internet access to your guests without compromising your digital safety.
Empower your network with a dedicated guest Wi-Fi — protect your data while keeping everyone connected!
About the Author