

Every time you turn on your Windows computer, a variety of programs and applications launch automatically. While some of these startup programs are essential, others can unnecessarily slow down your boot time and consume valuable system resources. Managing these startup items effectively can significantly enhance your computer’s startup speed and overall performance. This guide will walk you through how to manage, add, disable, or remove startup programs in Windows 10 and Windows 11, helping you achieve smoother, faster system boots.


What Are Startup Programs?
Startup programs are software applications set to launch automatically when your computer boots and you log into Windows. These can range from antivirus programs and cloud syncing tools to chat apps and utilities. Over time, as you install more applications, many might add themselves to the startup list without you noticing, often impacting boot times and system responsiveness.
Why Should You Manage Startup Programs?
- Improve Boot Speed: Fewer programs starting automatically means your PC boots faster.
- Enhance System Performance: Less background activity frees up CPU and RAM for active tasks.
- Reduce Software Conflicts: Eliminating unnecessary startup software can prevent software clashes and errors.
- Customize Your Workflow: Only important utilities load automatically, providing a streamlined experience.
How to Manage Startup Programs in Windows
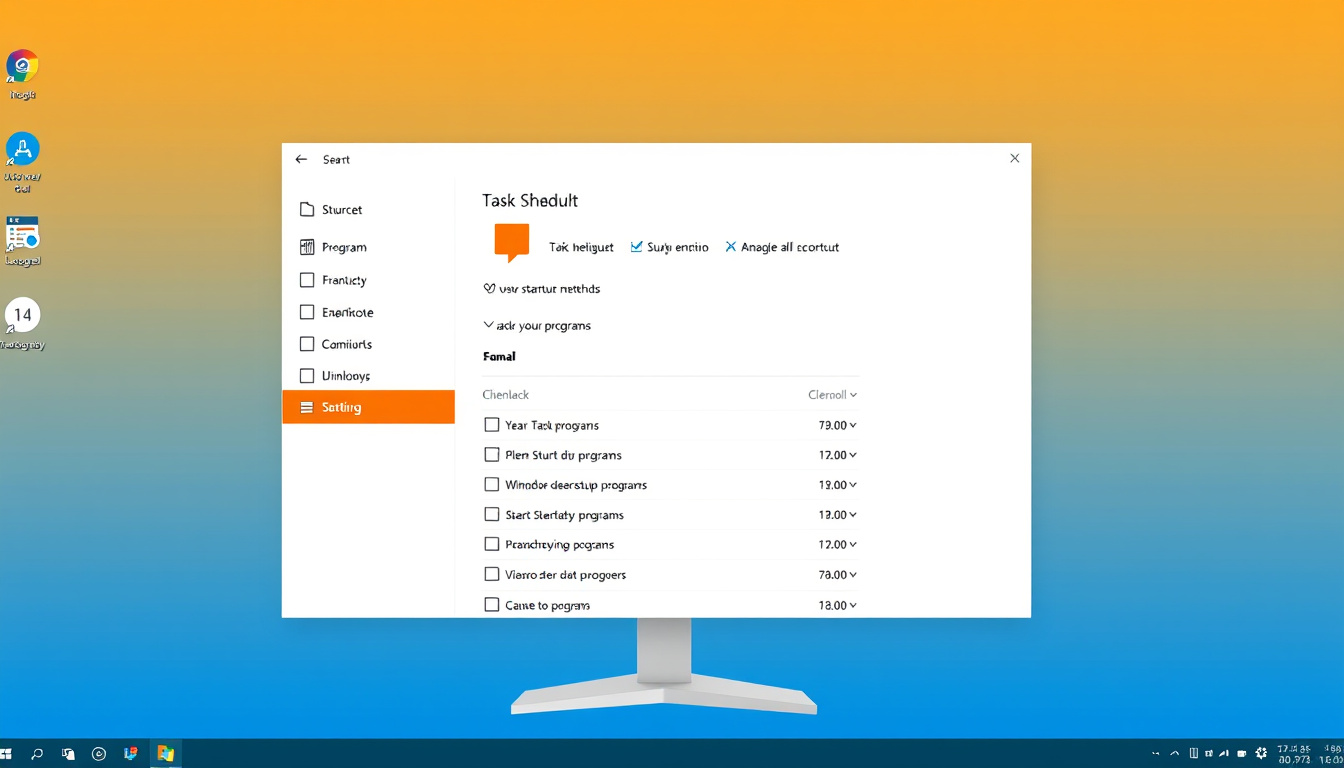
1. Using Settings (Windows 10 and 11)
Windows provides a straightforward interface in the Settings app to toggle startup applications.
Steps:
- Open Start and select Settings (gear icon).
- Navigate to Apps > Startup.
- You’ll see a list of apps with toggles to switch them On or Off at startup.
- To disable an app, simply toggle it Off; to enable, toggle On.
- Some apps have advanced options accessible via a chevron (arrow) icon if you want to tailor them further.
This method is user-friendly and ideal for managing apps that register startup tasks properly within Windows.
2. Using Task Manager
Task Manager offers a detailed view, including the startup impact of each application.
Steps:
- Right-click on Start and select Task Manager.
- Go to the Startup tab.
- Here, you’ll find startup programs along with the impact level: None, Low, Medium, or High. This helps identify resource-heavy programs slowing your boot process.
- Select an app, then click Disable to prevent it from launching at boot or Enable to add it back.
This tool is particularly useful for troubleshooting slow startups by identifying the heaviest startup apps.
3. Using the Startup Folder
For programs that aren’t listed in Settings or Task Manager, you can configure startup behavior manually using the Startup folder in File Explorer.
Steps:
- Press Win + R to open the Run dialog.
- Type shell:startup and hit Enter to open the startup folder for the current user. For all users, type shell:common startup.
- To add a program, create a shortcut of its executable file and place it inside this folder.
- Remove unwanted startup items by deleting their shortcuts from this folder.
This is an effective way to manage legacy or custom programs set to launch on login.
4. Editing Startup Entries in the Registry (Advanced)
Startup programs can also be controlled through registry keys, though this method is recommended only for advanced users due to the potential risks involved.
Important: Always back up your registry before making changes.
Key Registry Paths:
-
For current user startup programs:
HKCU\Software\Microsoft\Windows\CurrentVersion\Run
-
For all users:
HKLM\Software\Microsoft\Windows\CurrentVersion\RunHKLM\Software\Wow6432Node\Microsoft\Windows\CurrentVersion\Run
You can open the Registry Editor by pressing Win + R, typing regedit, and pressing Enter. Then navigate to the above paths to add or remove startup entries.
Handling Special Cases: Elevated Programs
Some applications require administrator privileges to run at startup. However, by default, Windows does not allow elevated (Run as administrator) programs to launch automatically for security reasons.
Workaround:
- Create an "elevated shortcut" that uses Task Scheduler or specific methods to run the program with privileges without prompting User Account Control (UAC).
- Place this shortcut in the Startup folder to ensure it runs properly at boot.
For detailed instructions, users should search for "Create elevated shortcut without UAC prompt" tutorials.
Tips to Optimize Your Startup Experience
- Prioritize Essential Apps: Only enable antivirus, necessary drivers, and productivity tools.
- Disable Unnecessary Tools: Chat apps, cloud syncing software, or update managers can often be launched manually when needed.
- Monitor Startup Impact: Use Task Manager’s “Startup impact” column to identify resource-intensive programs to disable.
- Keep Software Updated: Some slow startups result from outdated or buggy applications.
- Use Third-party Tools Cautiously: While tools exist to manage startup entries, always research and pick trusted software to avoid malware risks.
Conclusion
Mastering the management of startup programs can dramatically improve your computer’s boot time and overall responsiveness. By using Windows’ built-in tools like Settings and Task Manager, combined with manual methods such as the Startup folder and registry edits, you can customize your system’s startup routine for peak performance. Remember to proceed carefully with advanced methods and aim to keep your startup lean to enjoy a faster and smoother computing experience.
Quick Reference Summary
| Method | How to Access | Use Case |
|---|---|---|
| Settings | Start > Settings > Apps > Startup | Enable/Disable common apps |
| Task Manager | Right-click Start > Task Manager > Startup | View impact; enable/disable |
| Startup Folder | Run > shell:startup or shell:common startup |
Add/remove shortcuts manually |
| Registry Editor | Run > regedit |
Add/remove entries (advanced) |
| Elevated Programs | Use Task Scheduler or elevated shortcut methods | Run admin apps at startup |
By regularly reviewing and managing startup programs, you ensure your computer starts fast and runs efficiently, helping you stay productive and stress-free.
This guide is based on the latest best practices for managing startup applications in Windows 10 and Windows 11, compiled from Microsoft support resources and community knowledge.