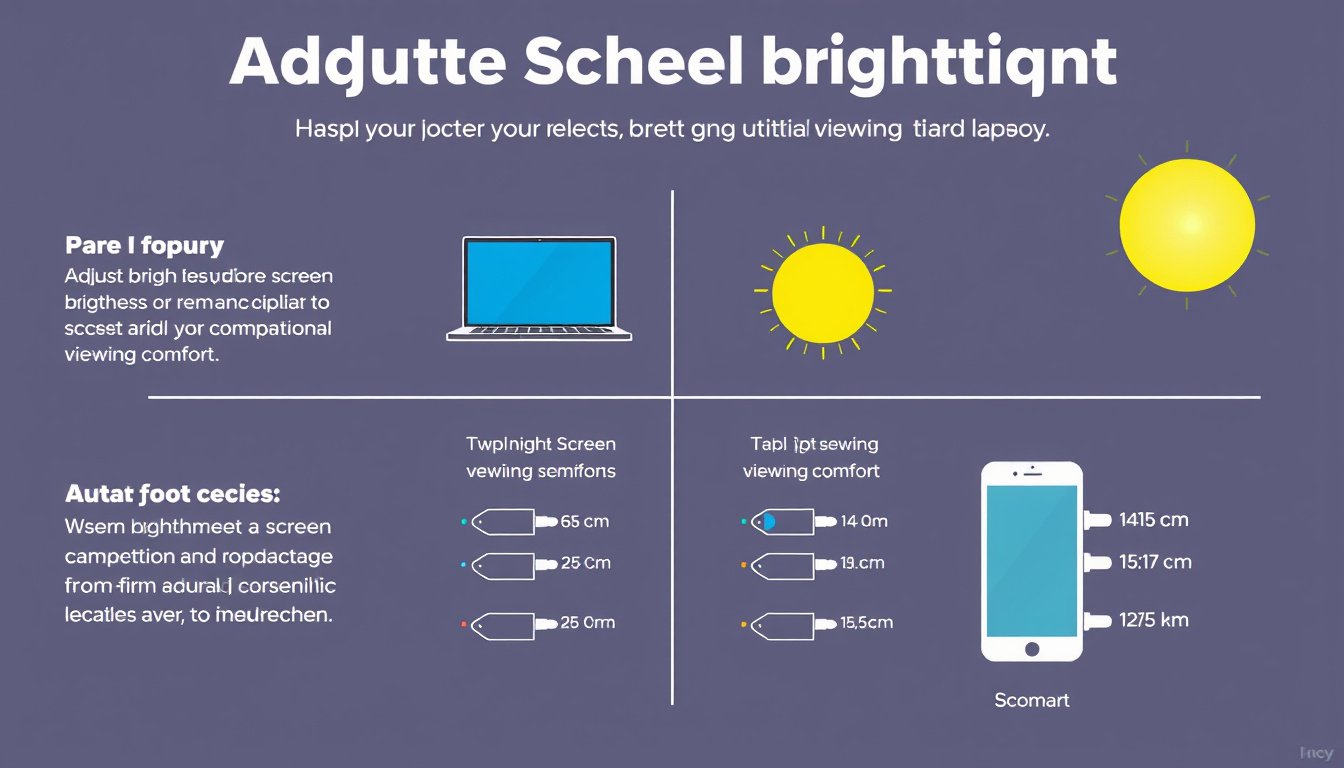

Adjusting your screen brightness is essential not only for comfortable viewing but also for protecting your eyes, optimizing battery life, and enhancing the overall display experience. Whether you are using a Windows PC, an iPhone, or multiple monitors, understanding how to effectively control screen brightness can make a significant difference in your daily device usage. This guide synthesizes expert information from major platforms to help you master screen brightness adjustment.


Why Adjust Screen Brightness?
Screen brightness affects how easily you can see content on your device, and incorrect settings can cause eye strain, headaches, and fatigue. Additionally, reducing brightness when possible can conserve battery power on portable devices. The goal is to find a balance that matches your environment’s lighting conditions and your visual comfort needs.
Adjusting Screen Brightness on Windows PCs
Windows provides multiple ways to control display brightness, including manual adjustments, automatic brightness changes based on ambient light, and adaptive brightness that adjusts depending on the content displayed.
Manual Brightness Control
- Quick Access: Click the Network icon on the taskbar (near the clock), then drag the brightness slider to your desired level.
- Settings Menu: Navigate to Settings > System > Display and use the brightness slider to modify brightness.
Note: If you use an external monitor, the Brightness slider might not be available in Windows. Instead, adjust brightness using the monitor’s physical buttons.
Automatic Brightness Adjustment
Many laptops and some desktops with ambient light sensors allow Windows to automatically tweak brightness based on surrounding lighting to ensure readability. Enable this by:
- Going to Settings > System > Display.
- Turning on "Brightness automatically when lighting changes".
Content Adaptive Brightness Control
Windows 11 offers an advanced feature that adjusts screen brightness and contrast based on the media content shown—for example, dimmer during dark scenes and brighter for sunny scenes in videos. This improves viewing comfort and boosts battery life but might cause noticeable changes in brightness.
You can configure this feature under Settings > System > Display > Brightness > Change brightness based on content, choosing from:
- Off
- Always (enabled on both battery and plugged in)
- On Battery Only
Night Light Mode
To reduce blue light exposure—which affects sleep quality—Windows offers a Night Light feature that shifts display colors to warmer tones during evening hours.
- Toggle Night Light on/off via the taskbar or through Settings > System > Display.
- Adjust intensity and schedule the timing (e.g., sunset to sunrise) in the Night Light settings.
Color Management and HDR
For professionals and anyone seeking accurate color representation, Windows includes color profile management and display calibration tools to enhance color fidelity. HDR (High Dynamic Range) support offers richer contrast and brighter colors, improving visual detail for compatible displays and content.

Adjusting Screen Brightness on iPhone
iPhones feature intuitive controls to quickly adjust display brightness and optimize your viewing experience.
Manual Brightness Adjustment
- Swipe to open Control Center (swipe down from top-right corner on Face ID models).
- Drag the brightness bar (sun icon) to adjust screen brightness.
Alternatively:
- Go to Settings > Display & Brightness, and use the slider.
Automatic Brightness and True Tone
-
iPhones can automatically adjust brightness based on ambient lighting. This feature is controlled via:
- Settings > Accessibility > Display & Text Size > Auto-Brightness.
-
True Tone technology adjusts color temperature dynamically to make the screen appear more natural under varying lighting environments.
- Control this in Settings > Display & Brightness.
Night Shift Mode
Similar to Windows Night Light, Night Shift on iPhone reduces blue light emission to protect your eyes and improve sleep.
- Enable Night Shift under Settings > Display & Brightness > Night Shift.
- Set a schedule or enable manually until the next day.
- Adjust the warmth intensity according to your preference.
Managing Brightness on Multiple Monitors with Third-Party Tools
For users working with multiple external monitors, Windows’ native brightness adjustment options may be limited. Third-party applications like Twinkle Tray offer advanced and convenient brightness controls:
- Provides a system tray icon for instant access to individual brightness sliders for each monitor.
- Supports multiple monitors and DDC/CI-enabled displays.
- Allows hotkeys to control brightness, contrast, volume, and more.
- Can automate brightness changes by time of day or system idle status.
- Free, customizable, and integrates seamlessly with Windows 10 and 11. This type of tool is a great choice for professionals managing complex multi-monitor setups seeking fine-tuned brightness control beyond basic system settings.
Best Practices for Optimal Screen Brightness
- Match ambient light: Adjust brightness to complement your environment. Too bright in dark rooms causes eye strain; too dim in bright rooms hampers visibility.
- Enable adaptive features: Use automatic brightness and content adaptive brightness for comfort and battery efficiency.
- Use night modes: Protect your eyes and circadian rhythm by using Night Light or Night Shift in the evening.
- Calibrate your display: For photography, video editing, or design work, proper calibration ensures color accuracy.
- Consider external tools: If you use multiple monitors or need more granular control, reliable third-party apps can help.
Conclusion
Mastering screen brightness adjustment enhances your viewing comfort, protects eye health, and can extend your device’s battery life. Whether on Windows or iPhone, take advantage of both manual and automatic settings, experiment with night modes to reduce eye strain, and for advanced needs, explore third-party solutions for multi-monitor setups. With these controls at your fingertips, you can fine-tune your display environment for every condition and use case.
By understanding and utilizing these brightness adjustment tools, you make a simple yet powerful step toward a more comfortable and productive digital experience.