

In today’s digital age, safeguarding your personal files—documents, photos, videos, and more—is more important than ever. Accidental deletions, unwanted edits, or hardware failures can lead to data loss that might be difficult or impossible to recover. Fortunately, Windows offers a built-in and user-friendly feature called File History that makes backing up your important files seamless and automatic. This article will guide you through understanding, setting up, and using File History to secure your data effortlessly.


What is File History?
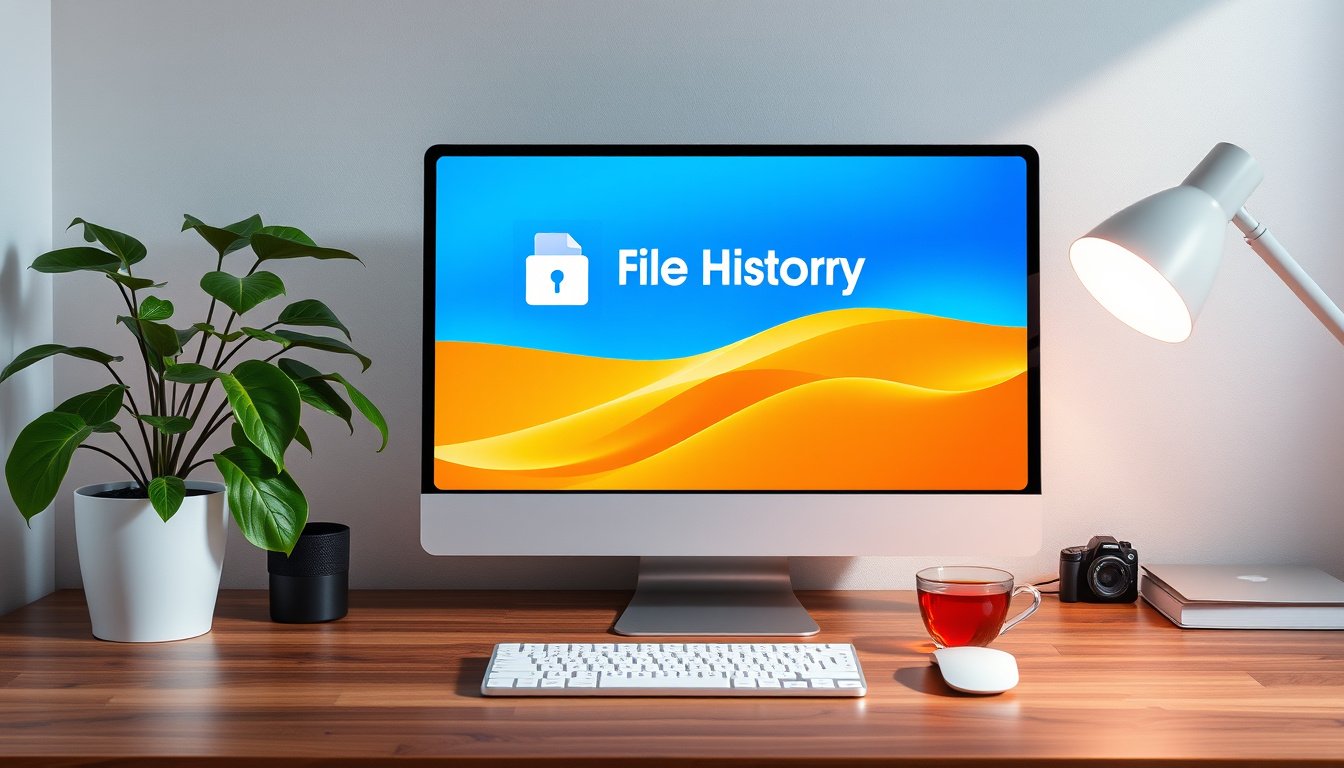
File History is a backup tool introduced in Windows 8 and included in both Windows 10 and Windows 11. It automatically saves copies of your personal files stored in libraries such as Documents, Pictures, Music, Videos, and Desktop, as well as any other folders you choose to include. By regularly backing up these files to an external drive or network location, File History ensures you can restore previous versions of your files if anything goes wrong.
Unlike traditional manual backups, File History runs continuously in the background, protecting your data without requiring constant attention.
Why Use File History for Backups?
- Automatic and Continuous Backup: Once set up, File History monitors your files and backs up changes regularly.
- Ease of Restoration: You can easily restore individual files or entire folders to previous versions.
- Customization: Add or remove folders from the backup sets to fit your needs.
- Protection Against Various Risks: Recover from accidental deletion, file corruption, or hardware failure.
- Peace of Mind: Knowing that your files are safely backed up reduces stress and saves time during unexpected data loss.

How to Set Up File History
Follow these simple steps to start using File History on your Windows device:
1. Prepare Your Backup Destination
- Connect an external USB drive (such as an external hard drive or USB flash drive) to your PC, or set up a network location where backups will be stored.
- Make sure the drive has enough space to handle your backups.
2. Enable File History in Windows 11
- Go to Settings and type “File History” in the search bar.
- Alternatively, press Windows + R, type
controland press Enter to open Control Panel. - Navigate to System and Security > Save backup copies of your files with File History.
- Click Turn on to enable File History.
- If a drive is not selected by default, click Select drive, choose your external drive or network location, and confirm.
3. Enable File History in Windows 10
- Click Start > Settings > Update & Security > Backup.
- Toggle Automatically back up my files to On.
- Click More options to customize backup preferences such as which folders to back up or exclude.
- Click Backup now to start the initial backup manually.
4. Customize Backup Folders
- File History automatically backs up default libraries, but you can add folders by including them in a library.
- Right-click any folder you want to back up, select Show more options > Include in library, and add it to an existing or new library.
5. Set Backup Frequency and Retention
- In More options (Windows 10) or File History settings, choose how frequently backups are saved—options range from every 10 minutes to once daily.
- Decide how long versions are kept (for example, until space is needed, or forever).
Managing Storage Space
Over time, especially when keeping multiple versions of files, your backup drive can fill up. File History offers the option to:
- Move your backup to a larger drive: Connect both the current and new larger external drives, then use File History’s Select drive option to transfer existing backups.
- Delete older versions: Configure File History to delete older versions periodically to free space.
How to Restore Files Using File History
When you need to recover a deleted file or revert to an earlier version:
- Connect your backup drive or access the network location containing the File History backup.
- Open Settings and search for “File History” or open Control Panel > System and Security > File History.
- Click Restore personal files.
- Use the File History interface, which resembles File Explorer, to browse and preview different versions of files and folders.
- Select the file(s) or folder(s) you want to restore and click the Restore button. Files are restored to their original location by default.
- To avoid overwriting the current file, choose Restore to… and select a different location.
Tips for Getting the Most Out of File History
- Always use a dedicated external drive or reliable network location for backups.
- Regularly check backup status to ensure it is running smoothly.
- Consider excluding very large or temporary files to save space.
- Combine File History backups with other backup solutions for comprehensive protection.
Conclusion
File History is a powerful, built-in solution in Windows that simplifies the backup process by automatically saving snapshots of your personal files. Setting it up requires minimal effort, but it offers invaluable protection against data loss. By regularly backing up to an external or network drive and knowing how to restore your files, you gain peace of mind and security for your digital life. Whether you are a casual user or a professional, File History is an essential tool to keep your files safe—unlock this peace of mind today.
Remember: Backups are only effective if used consistently. Make File History part of your routine, and your data will be ready for any unexpected situation.
About the Author