
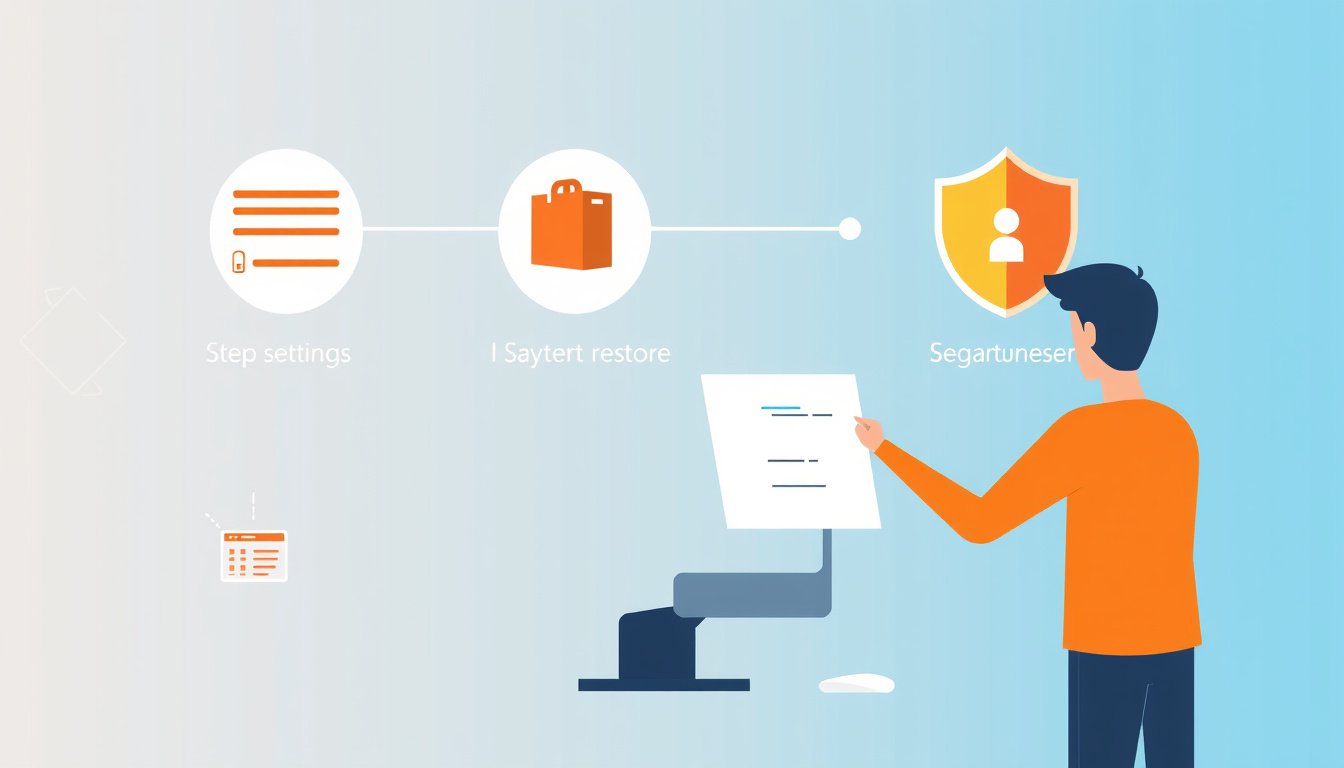

In today’s fast-paced digital world, maintaining the smooth operation of your PC is crucial. Unexpected issues like software malfunctions, faulty updates, or problematic driver installations can disrupt your workflow and even jeopardize critical data. Fortunately, Windows offers a powerful feature called System Restore that allows you to revert your computer’s system files and settings to a previous, stable state without affecting your personal files. This guide will walk you through how to use system restore points effectively to safeguard your PC.


What is a System Restore Point?
A System Restore Point acts as a snapshot of your Windows system’s configuration at a specific moment in time. It captures important system files, installed applications, Windows Registry settings, and drivers so you can roll back to that state if you encounter problems caused by recent changes.
Restore points are created automatically by Windows during significant system events such as installation of new software, device driver updates, or Windows updates. Additionally, you can manually create restore points before making major system modifications for an extra layer of safety.
Key Benefits:
- Non-destructive: Restoring your system from a restore point does not affect your personal documents, photos, or videos.
- Easy recovery: Quickly revert unwanted system changes without reinstalling Windows.
- Safe troubleshooting: Helps resolve issues related to system instability or malfunctioning software.
How System Restore Works
When you apply a restore point, Windows replaces system files, drivers, installed applications, and registry settings with the versions saved in that snapshot. This process helps to maintain system stability by undoing problematic changes while leaving your personal files intact.
Windows stores restore points in a hidden folder called "System Volume Information" on each disk volume. Restore points consume disk space which can be managed through system settings to prevent storage issues.
Enabling System Restore
On Windows 10 and Windows 11, System Restore is usually enabled by default but it’s a good idea to verify it is active and configured properly.
To enable and configure System Restore:
- Open the Start menu and type Create a restore point, then select the resulting Control Panel item.
- In the System Properties window, locate your system drive (typically C:).
- Check if Protection is set to On. If not:
- Select the system drive and click Configure.
- Choose Turn on system protection.
- Set the Maximum disk space usage for restore points (5–10% is commonly recommended).
- Click OK to save settings.
This process ensures that Windows will regularly create restore points as part of system operation.
Creating a Manual Restore Point
Creating restore points manually allows you to lock in a known good configuration before you make risky changes.
Steps to create a restore point:
- Open Create a restore point from the Windows search bar.
- In the System Protection tab, click Create.
- Enter a descriptive name (e.g., "Before installing XYZ software").
- Click Create and wait for confirmation that the restore point was successfully created.
You can now proceed with confidence knowing you can restore to this point if needed.
How to Restore Your System from a Restore Point
If your PC begins to show errors after installing software, drivers, or system updates, you can restore to a previous point when your system was working correctly.
Restoring through Windows:
- Search for Create a restore point and select it from the results.
- Click the System Restore button.
- Click Next and select a relevant restore point from the list.
- Optionally, click Scan for affected programs to view software that will be removed or restored.
- Click Next, then Finish, and confirm by clicking Yes to start the restoration.
- Your PC will restart and restore to the selected state.
Restoring through Windows Recovery Environment (Windows RE):
If Windows cannot boot normally, use the recovery environment:
- Boot your PC and interrupt the startup three times to trigger recovery mode or use a recovery drive.
- Select Troubleshoot > Advanced options > System Restore.
- Choose a restore point, scan for affected programs, and confirm the restore process.
- Restart your PC after restoration completes.
Important Considerations
- Power supply: Ensure your PC is connected to power during the restoration process to prevent interruptions.
- Disk space: If disk space allocated for restore points is low, older points will be deleted automatically, which may limit your ability to restore.
- Malware: System Restore does not remove malware. If your system is infected, clean your PC with appropriate antivirus tools before restoring.
- No effect on personal files: System Restore only affects system files and installed applications—it will not delete or modify personal documents, pictures, or music.
Conclusion
System Restore is a valuable built-in feature for Windows users aimed at safeguarding your PC’s health. Leveraging system restore points allows you to quickly undo recent system changes without the hassle of reinstalling Windows or losing personal files. By enabling System Restore, creating manual restore points before changes, and understanding how to apply them when issues arise, you empower yourself with a reliable safety net to keep your computer running smoothly.
Make it a habit to use system restore points — your future self will thank you!
About the Author