
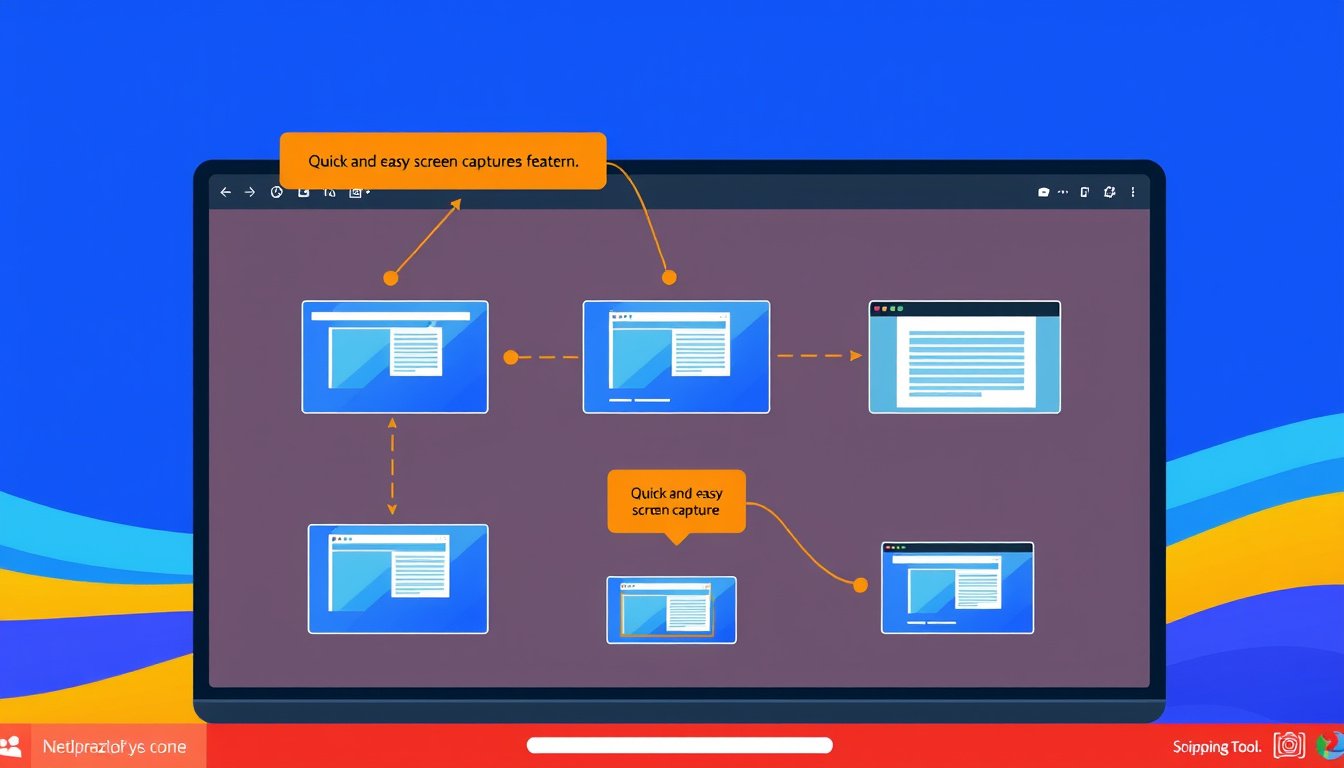

Capturing your screen on a Windows PC is an everyday task for many users—whether for work, study, or sharing moments online. Luckily, Windows offers a powerful yet easy-to-use built-in Snipping Tool that caters to a wide range of screenshot and screen recording needs without requiring any third-party software. This comprehensive guide will walk you through everything you need to know to master the Snipping Tool on Windows 10 and Windows 11. —


What is the Snipping Tool?
The Snipping Tool is a built-in utility in Windows that allows users to capture screenshots or record portions of their screen quickly and efficiently. It provides various capture modes and editing features to enhance your screenshots immediately after taking them.
In Windows 11, this tool has evolved to include video recording options and AI-powered features, making it a versatile all-in-one solution for screen capture.
How to Open the Snipping Tool
There are multiple ways to access the Snipping Tool:
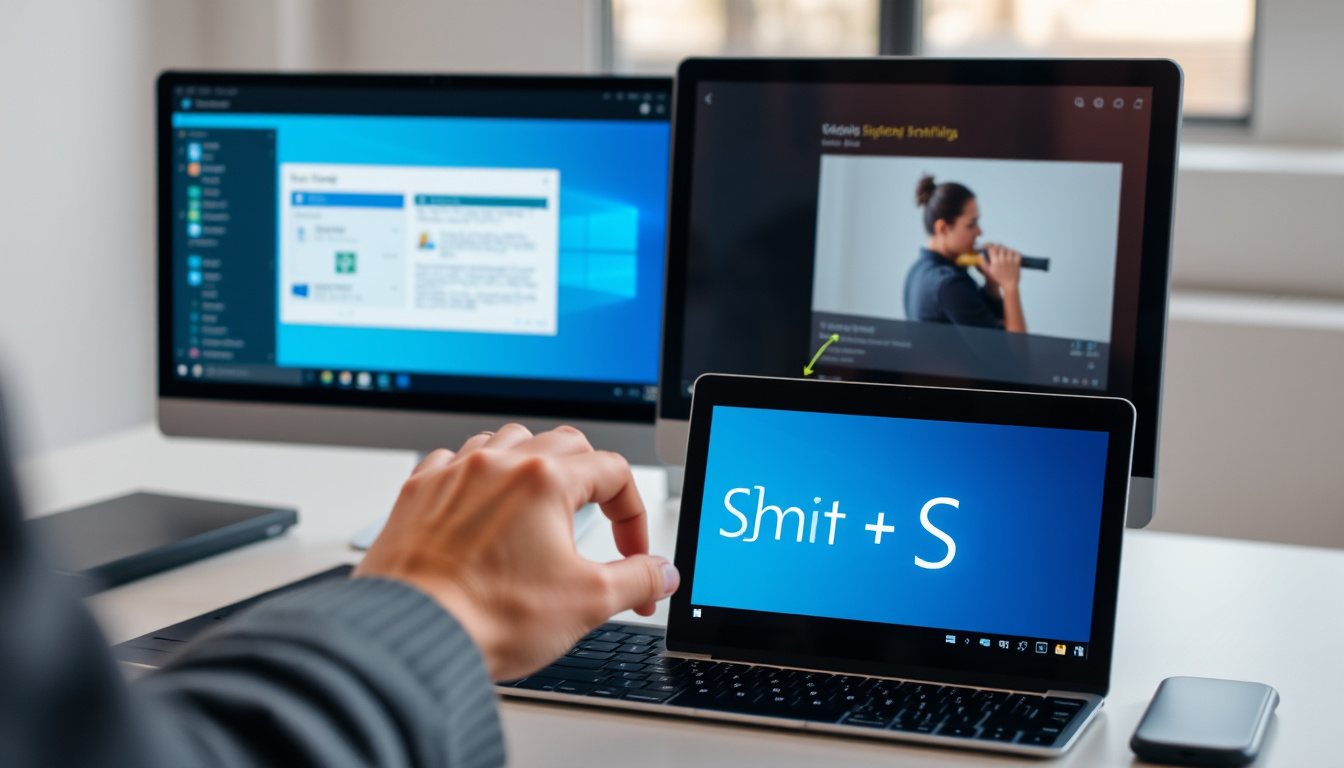
- Keyboard shortcut: Press Windows key + Shift + S to open the snipping overlay quickly.
- Search: Type "Snipping Tool" into the Start menu search bar and select the app.
- Print Screen key: On some configurations, pressing PrtSc initiates the full-screen capture.
Capture Modes You Can Use
The Snipping Tool offers several modes to fit different screen capture scenarios:
- Freeform Snip: Draw any shape around the area you want to capture, ideal for irregular shapes.
- Rectangular Snip: Click and drag to form a rectangle around the desired content.
- Window Snip: Select a specific window or dialogue box for targeted capturing.
- Full-Screen Snip: Capture the entire display instantly.
- Video Snip (Windows 11): Record a video clip of a selected rectangular portion of your screen, including optional audio recording.
When initiating a snip, the screen typically fades or grays out to indicate readiness for you to select your capture area.
Using the Snipping Tool for Video Recording
In the Windows 11 23H2 update and later, the Snipping Tool includes a screen recording feature:
- Switch the mode to Video or use the keyboard shortcut Windows + Shift + R.
- Select the rectangular area of the screen to record.
- Optionally enable your system audio and microphone to include narration.
- Start and stop recording with visible controls.
- After recording, the video automatically opens for review and can be saved or edited further in video editing software like Clipchamp.
This is particularly useful for creating tutorials, demonstrations, or recording any on-screen activity.
Editing and Annotating Your Snips
Once you capture a snip, you can immediately make edits using the Snipping Tool’s built-in editor:
- Draw or highlight: Use pen or highlighter tools with multiple color options.
- Erase: Remove any unwanted annotations.
- Add shapes and emojis: Insert arrows, circles, squares, or select emojis to embellish your snip.
- Crop: Fine-tune the captured area without starting over.
- Edit in Paint: For more advanced edits like adding text or layering images, open the snip in Microsoft Paint directly from the tool.
- Text extraction (OCR): Extract text from images and videos using built-in Optical Character Recognition, allowing you to copy or redact sensitive information.
All annotation changes can be saved or copied to the clipboard for immediate use.
Additional Features and Tips
-
Perfect Screenshot (Windows 11 on AI + Copilot PCs): An intelligent cropping tool that automatically frames on-screen content perfectly, reducing post-capture cropping.
-
Color Picker (Windows 11 on AI + Copilot PCs): Sample any color from your screen and copy its exact color code (HEX, RGB, HSL) directly to your clipboard.
-
Delay Capture: Set a delay of 1 to 5 seconds to prepare your screen (for example, to open menus that disappear on keystrokes).
-
Keyboard Shortcuts:
- Alt + M – Change the snipping mode.
- Alt + N – Take a new snip in the last selected mode.
- Shift + Arrow Keys – Navigate through snip types.
- Ctrl + S – Save your current snip.
- Ctrl + C – Copy the snip to the clipboard.
-
Saving and Sharing: Snips save automatically to the Screenshots folder or a location of your choice. You can easily share captured images or videos directly via the share menu.
Why Use the Built-In Snipping Tool?
Many users opt for third-party screenshot tools out of habit, but the Windows Snipping Tool has matured, especially in Windows 11, to meet most users’ needs natively:
- It’s always available—no installation or updates required.
- Integrated editing and annotation features reduce the need for additional software.
- Video recording and audio capture have simplified tasks that once needed dedicated programs.
- AI-powered enhancements improve accuracy and efficiency.
- Text extraction from images and videos enhances productivity.
Using the built-in Snipping Tool not only simplifies workflows but ensures your capture and editing processes remain secure and private on your local machine.
Conclusion
The built-in Snipping Tool in Windows 10 and Windows 11 offers a rich set of features that cover everything from quick snapshotting to full-fledged screen recording with audio. Whether you’re a casual user needing simple screenshots or a power user creating tutorials and annotated guides, mastering this tool enhances your productivity and ease of working with screen content.
Give it a try using the keyboard shortcut Windows + Shift + S and explore its functionalities—chances are, you’ll find it more capable and convenient than you thought!
Happy Snipping!
About the Author